Learn the basics
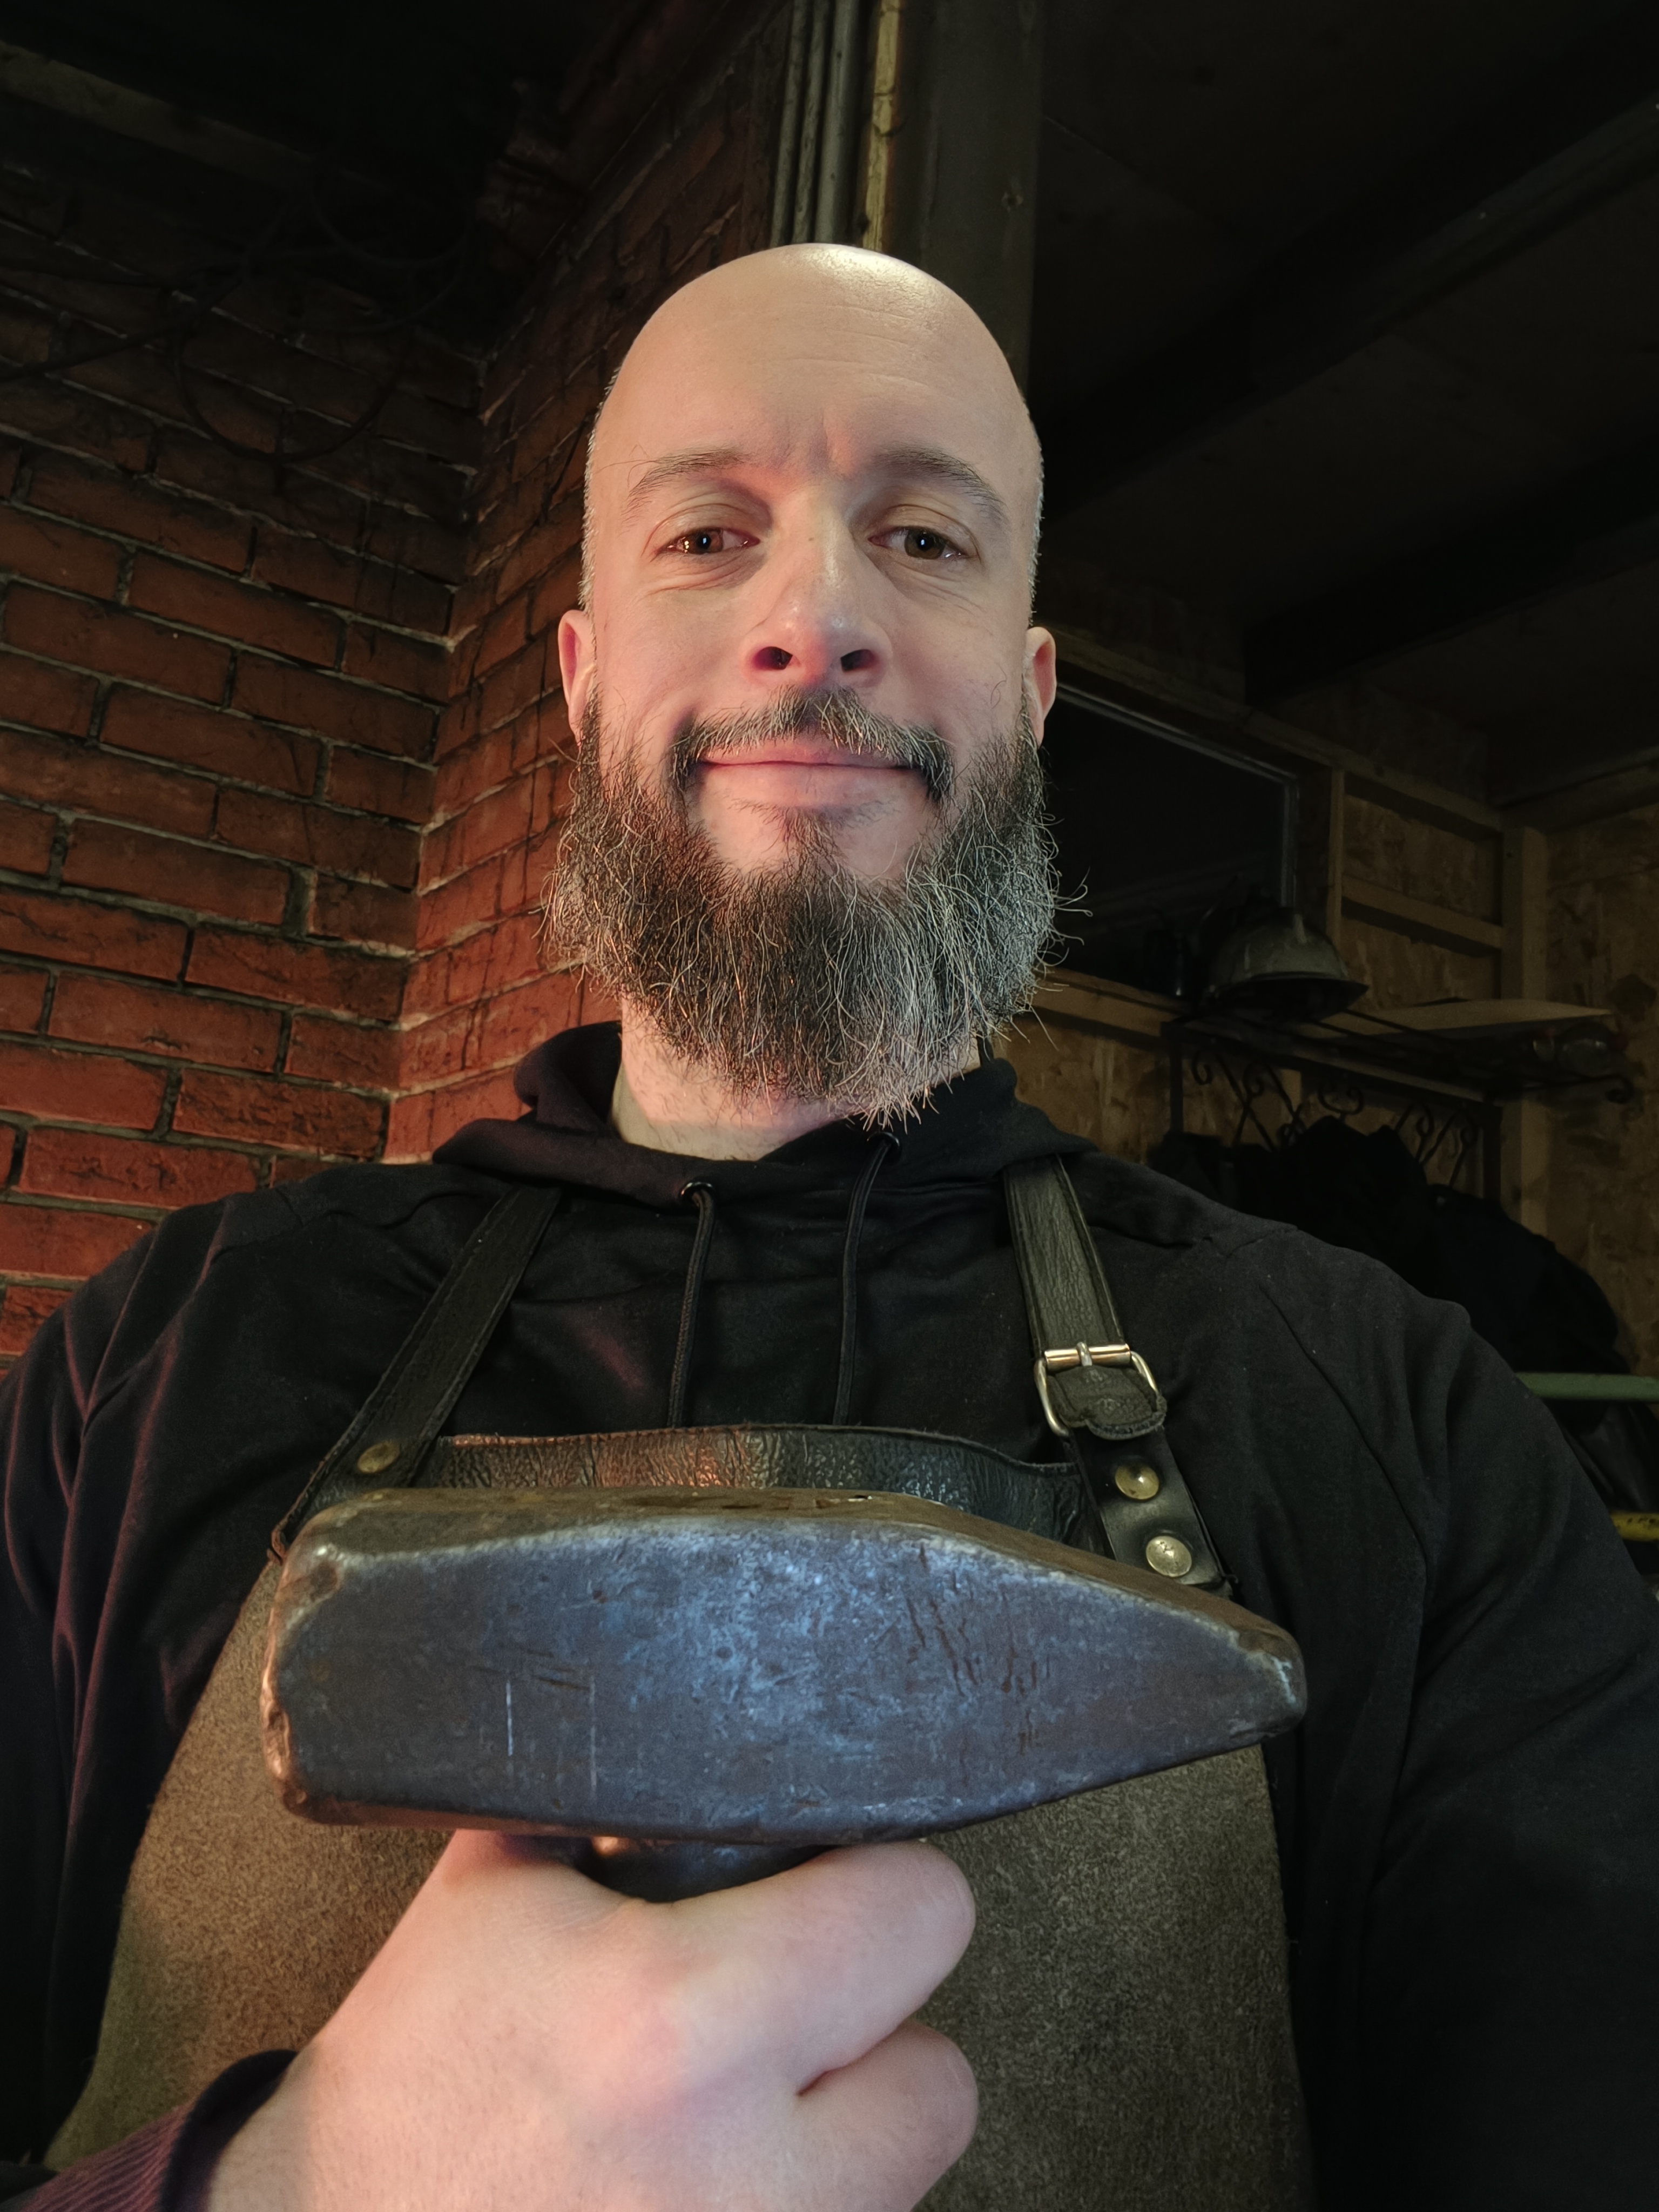
The first evening, we were welcomed by two lovely Dutch gentlemen that both had over 40 years of experience forging! Our gang of seven blokes, enthused to be there in the midst of fire and smoke, all worked office jobs. And yes, you guessed it, almost everybody from IT.
I guess there's something about programming the entire day that makes you want to pick up a hammer, right? :)
Our task was to familiarize ourselves with the tools, the process, and do a small project—forge a coat hanger from a square iron bar.
Pick a hammer, any hammer!
The workshop was very much hands-on. Not a lot of theorizing. They showed us how to start the coal and gas forges and how to work them. I, being a loudmouth, started asking questions about the gear and the bearded gentleman told me: "I've been using this hammer for 40 years. It's a good one."
Of course, it was a 2kg hammer.
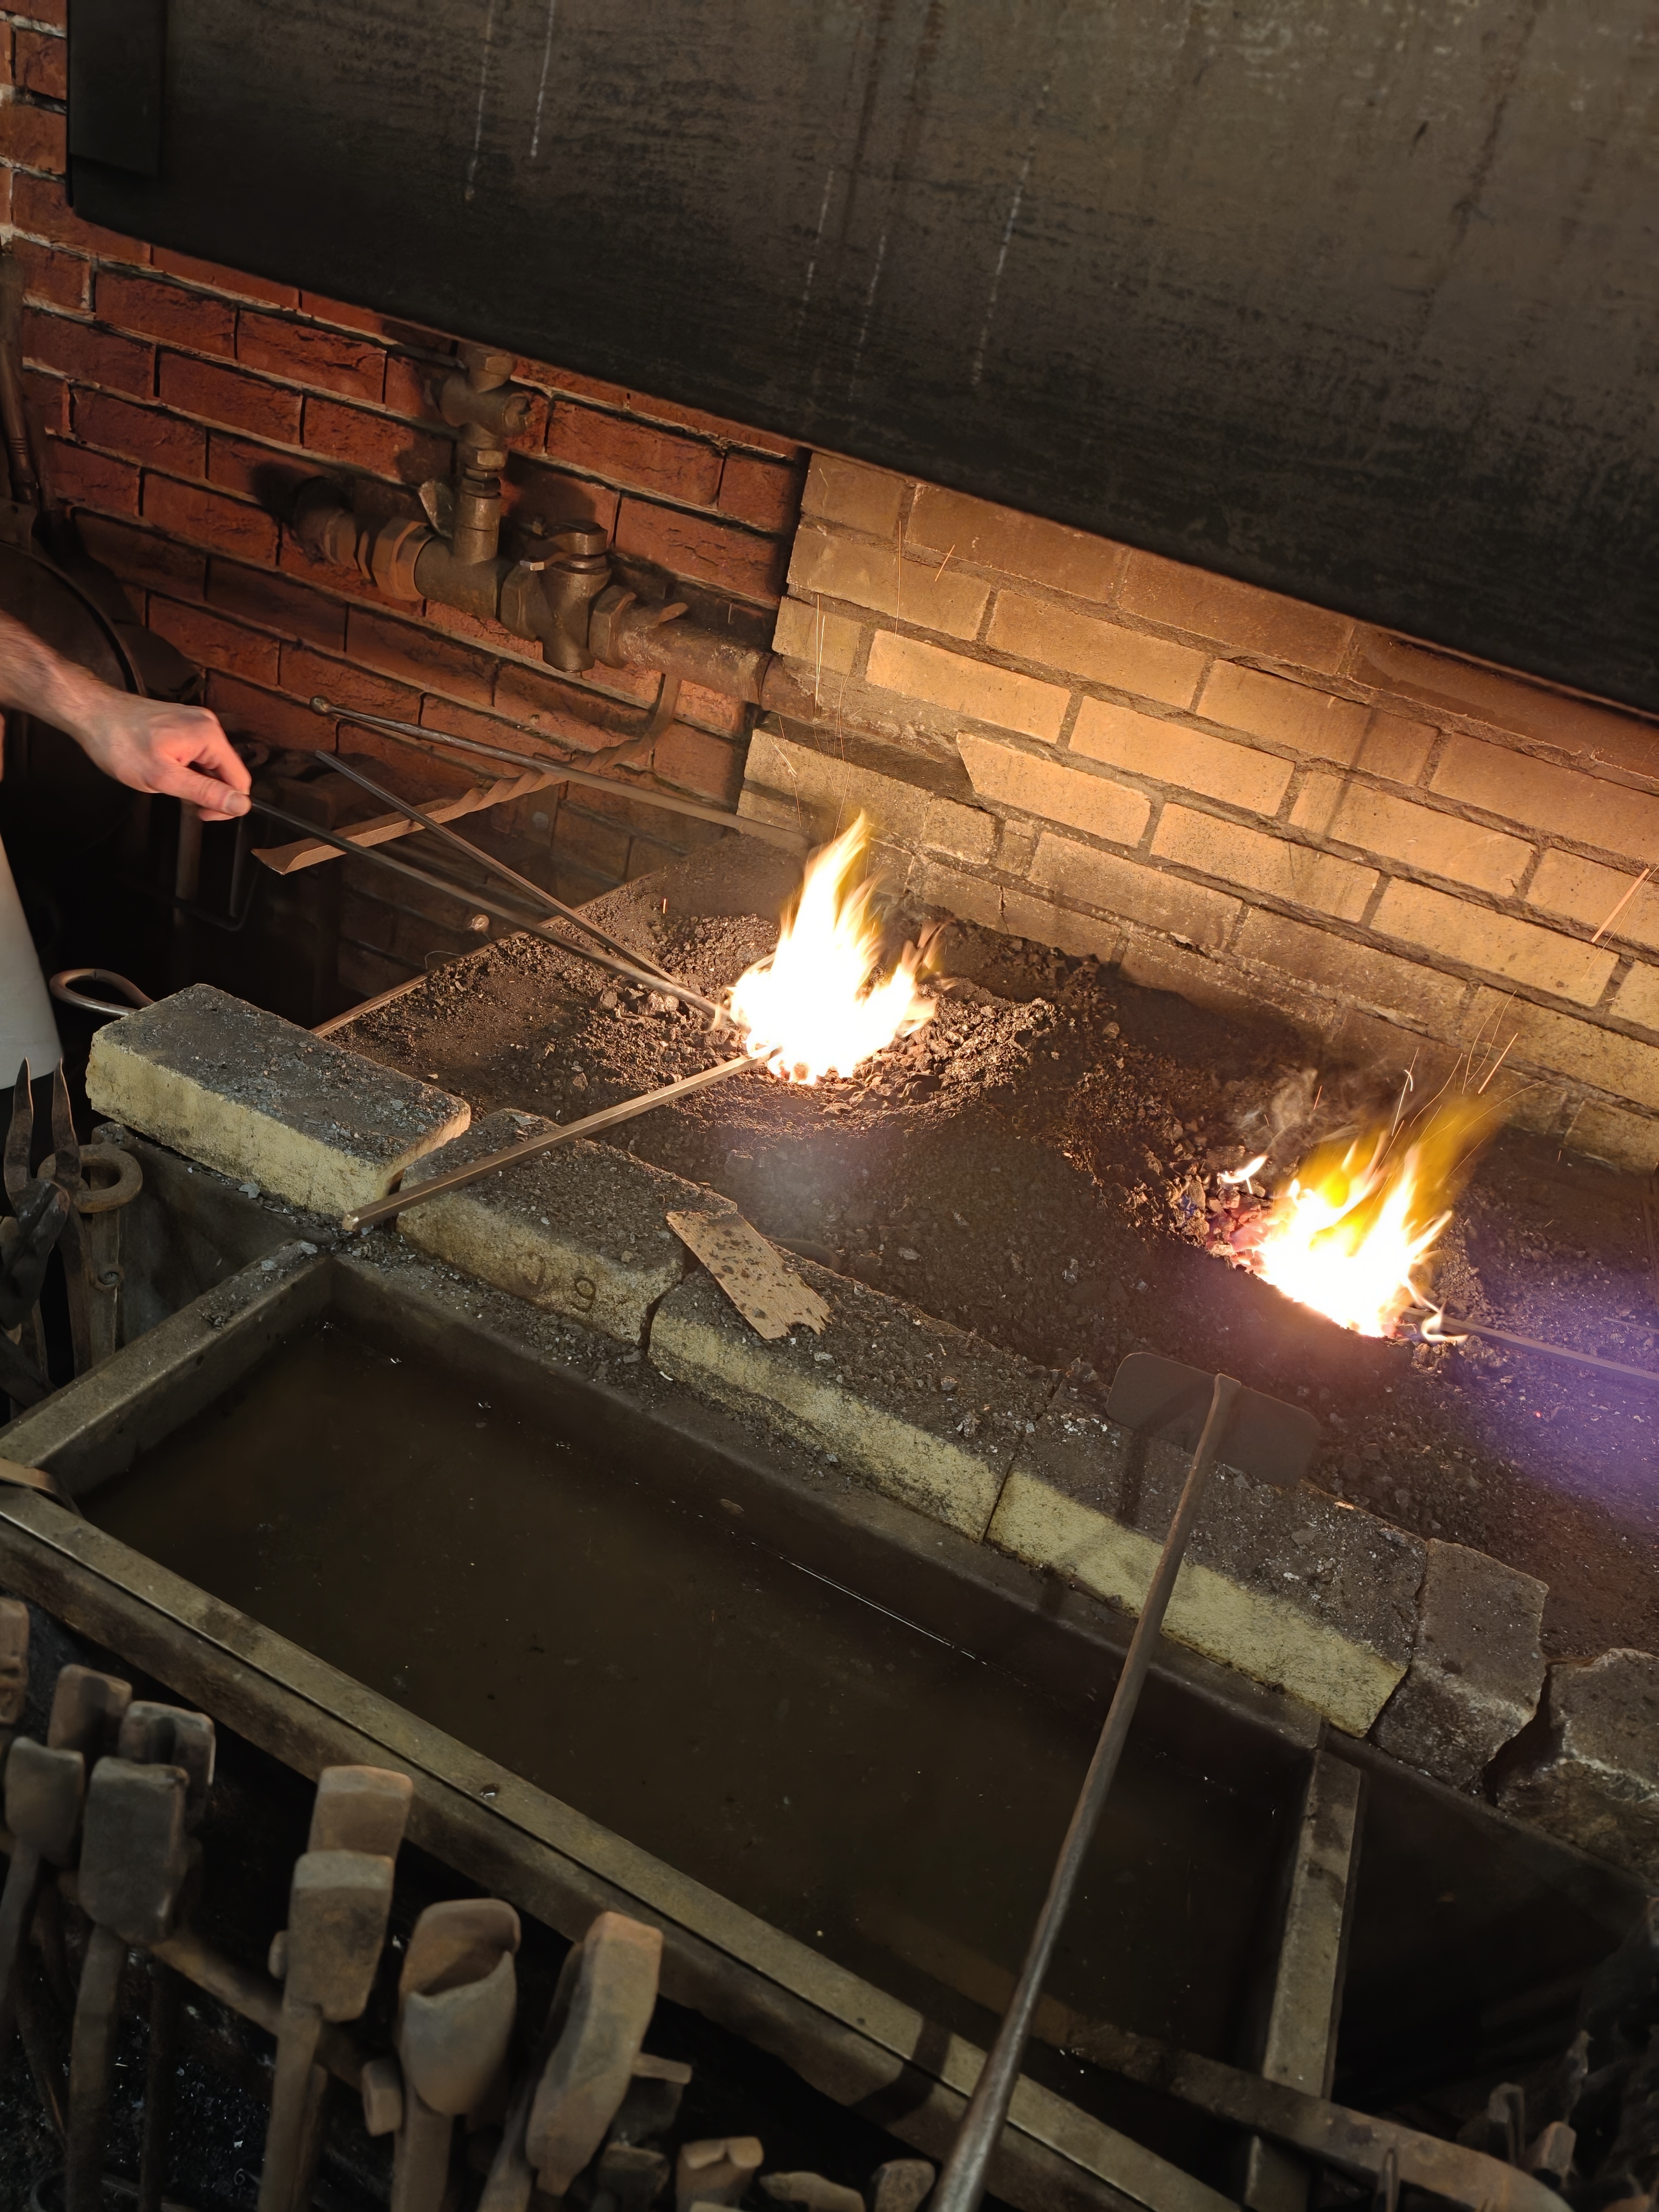
We learnt how to control the airflow of the coal forge—we needed to keep the coal chunks close to the airflow but not let it suffocate the fire. If you clog it with the coal dust, it takes ages to get the iron glowing-yellow.
This was an opportunity to learn to recognize the temperature by the color of the heated iron. We practised heating the iron till it became malleable. The masters quickly warned us not to stare into the fire. Good advice. It blinds you and you cannot distinguish your mates, let alone whether the iron is hot.
Make it round
The task was to hammer the edges of the square iron rod until it became round. First step was to make the end of the rod octagonal.
This was straightforward but you quickly learn why you want a rounded hammer and not a flat one. As a beginner, if you hit the steel with the flat hammer incorrectly, and you will, it makes sharps dents in the iron.
The rounded off hammer does not. It is very forgiving and making an octagonal rod was not hard.
Once we got the octagonal cross-section we had to continue with that same approach—hammering the edges—until we ended up with a circular cross-section of the iron rod.
Make it pointy
The next step was to make the round end into a point. It needed to go as thin as 2-3mm at the end. To do this, we had to lift up our rod-holding hand so the round end of the heated rod rests in the middle of the anvil at an angle. Then bash it repeatedly with the rounded end of the hammer. This end of the blacksmith's hammer manipulates the hot iron into the direction of your hits. You have to slowly rotate the rod in your holding hand and keep hitting it with that end.
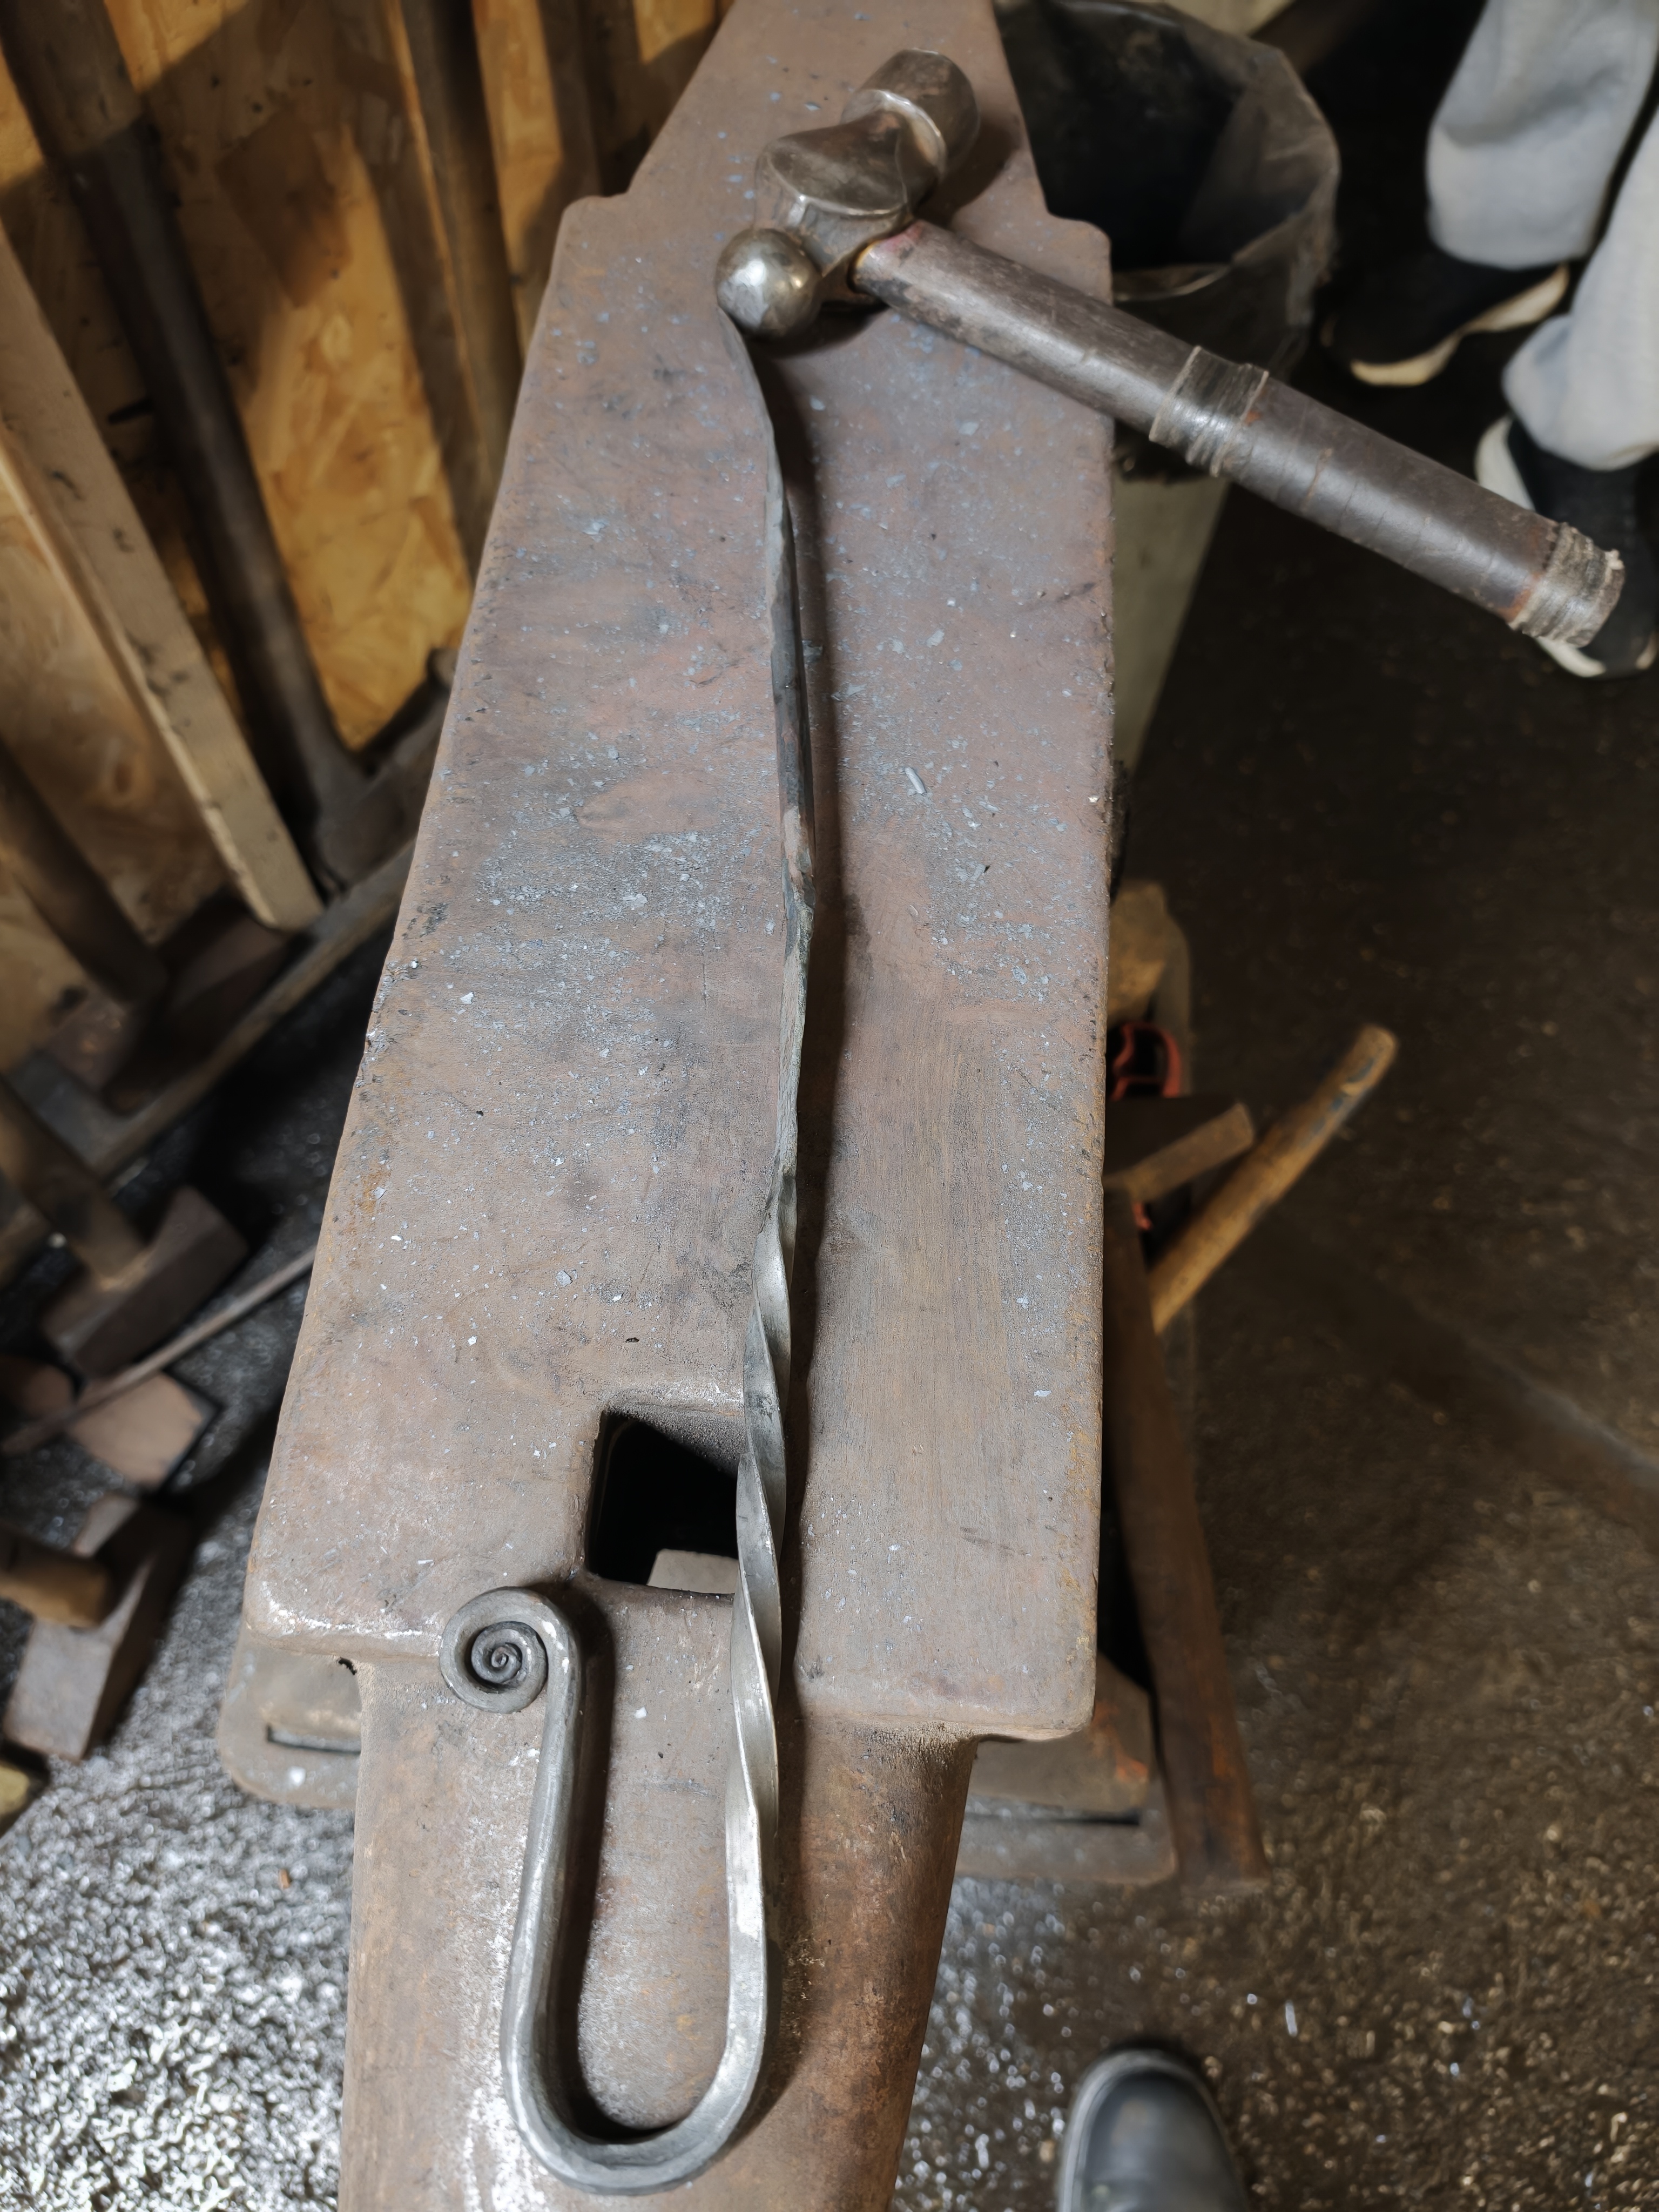
Once we made the rod pointy, we needed to hammer the tip over the edge of the anvil. This was done in the middle section of the anvil using a smaller hammer.
Did I mention that there were hammers and tongs of all sizes everywhere?
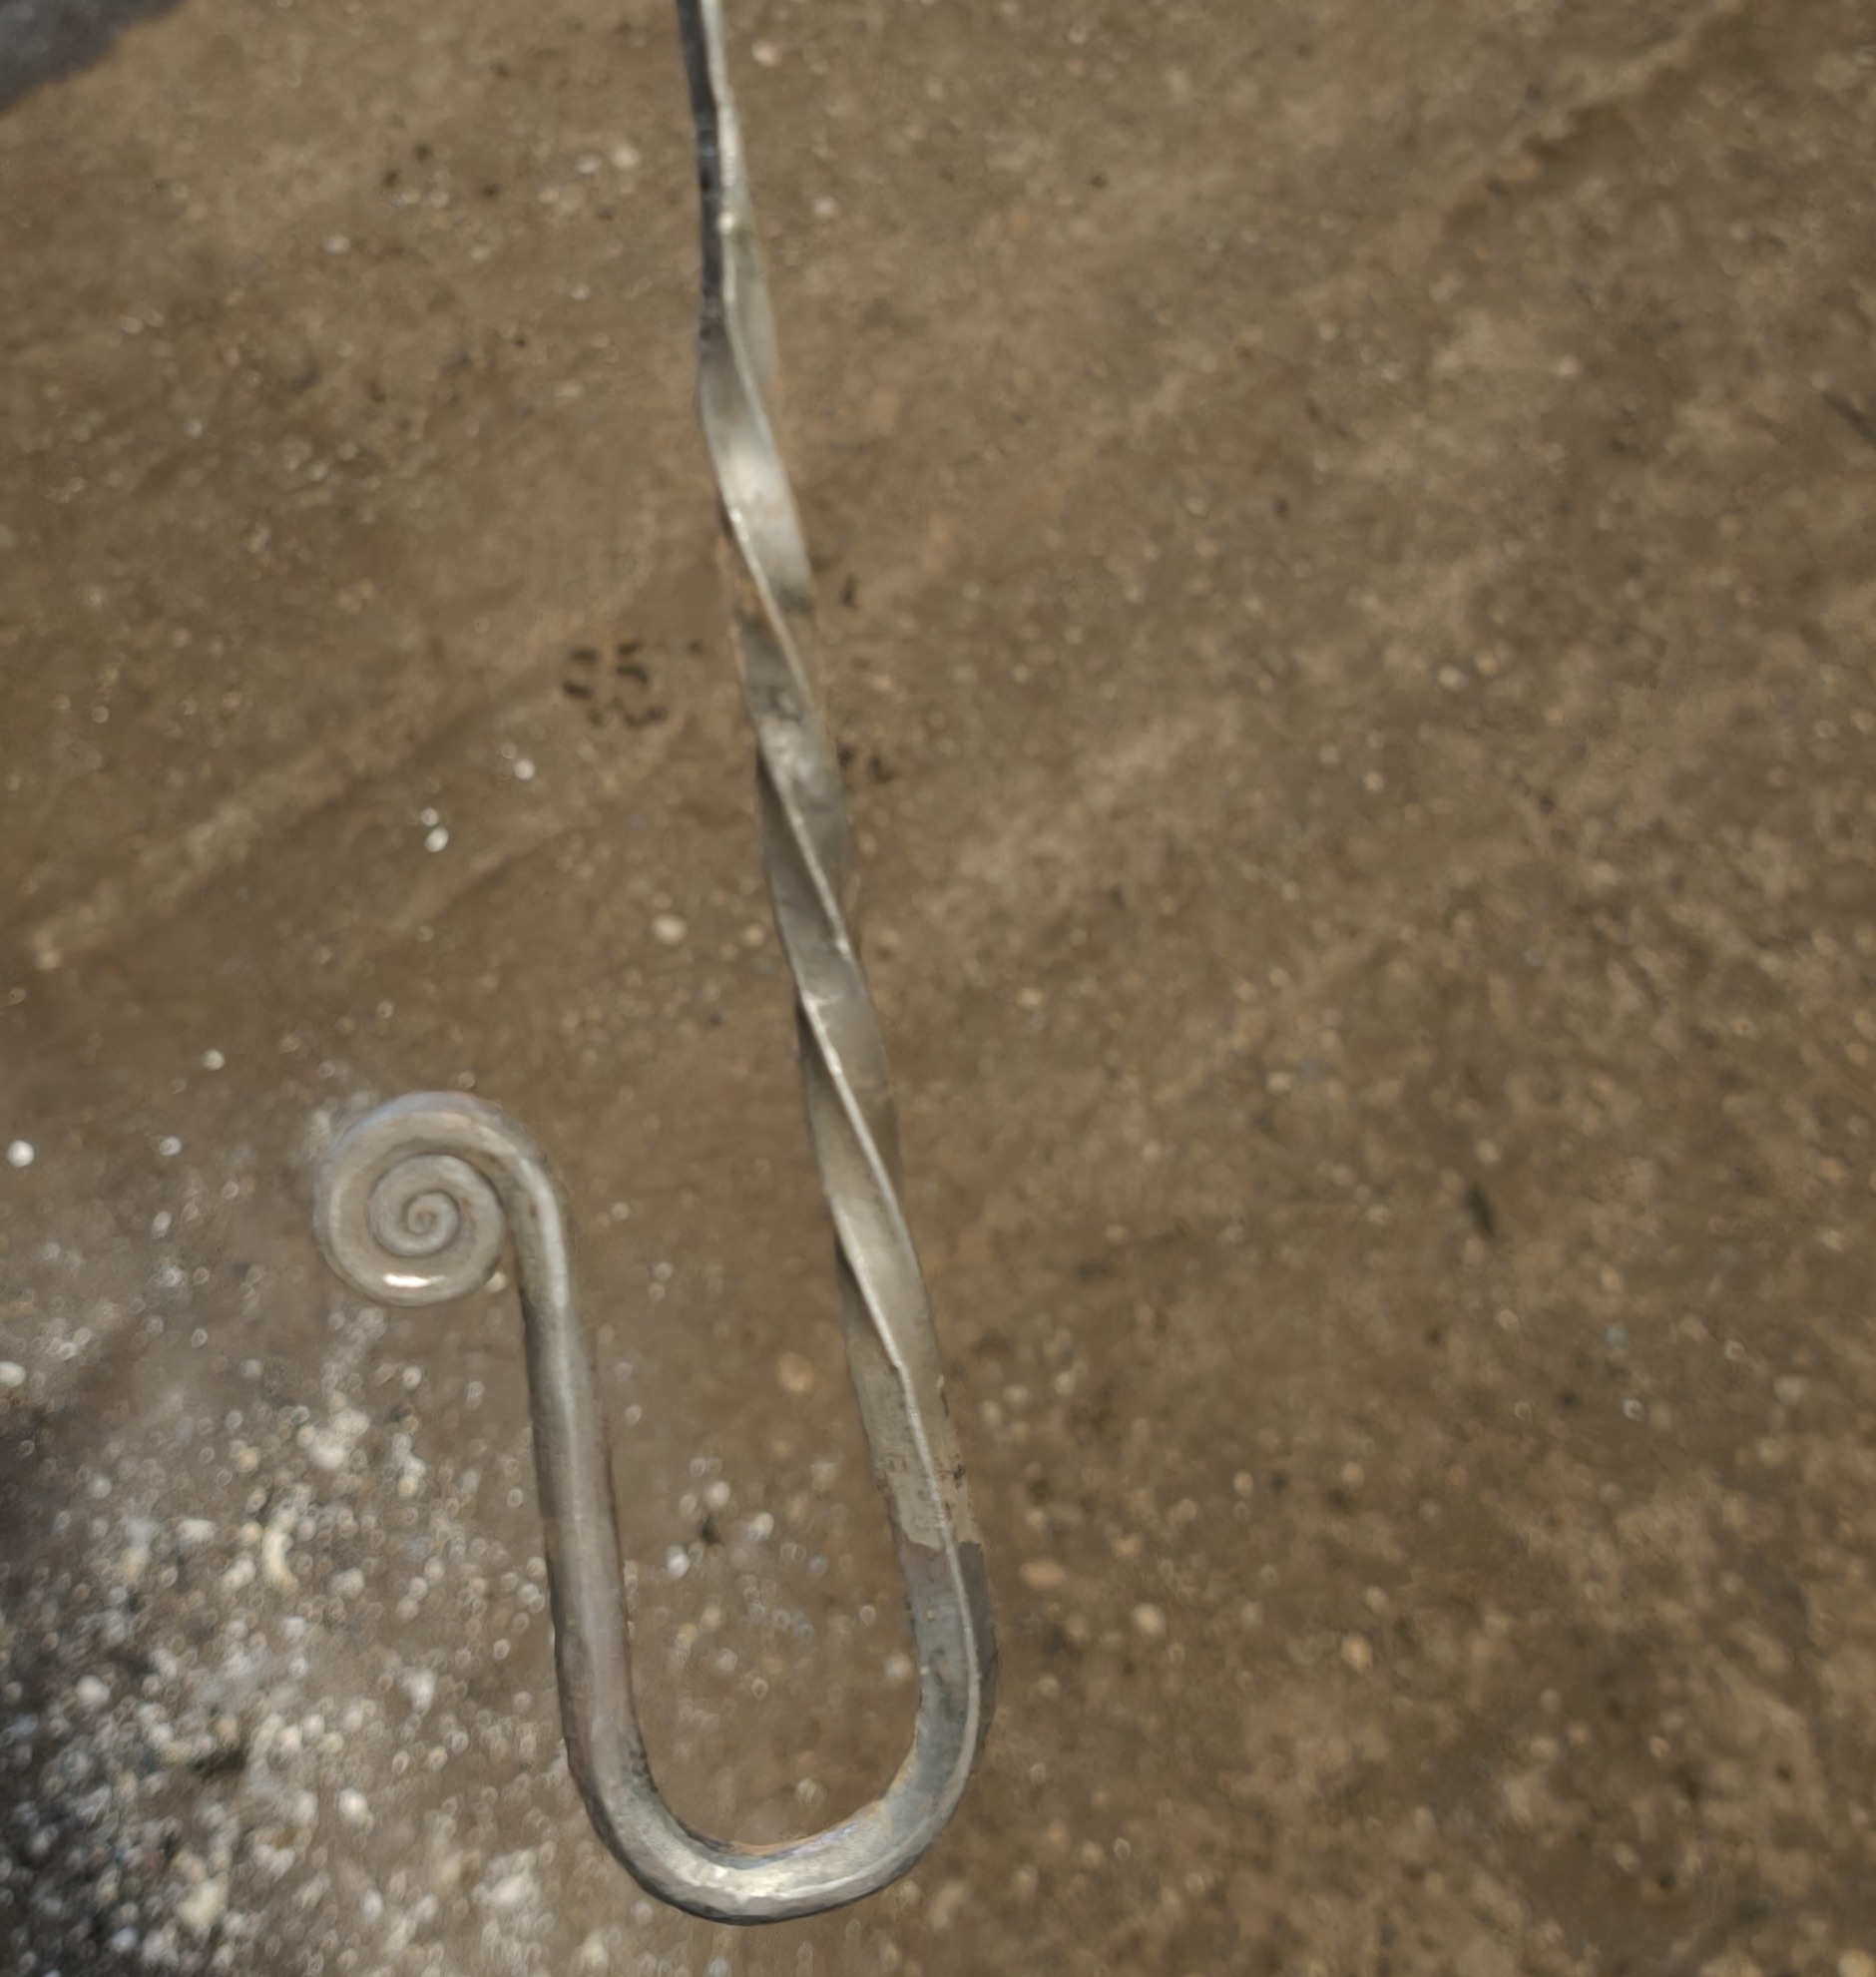
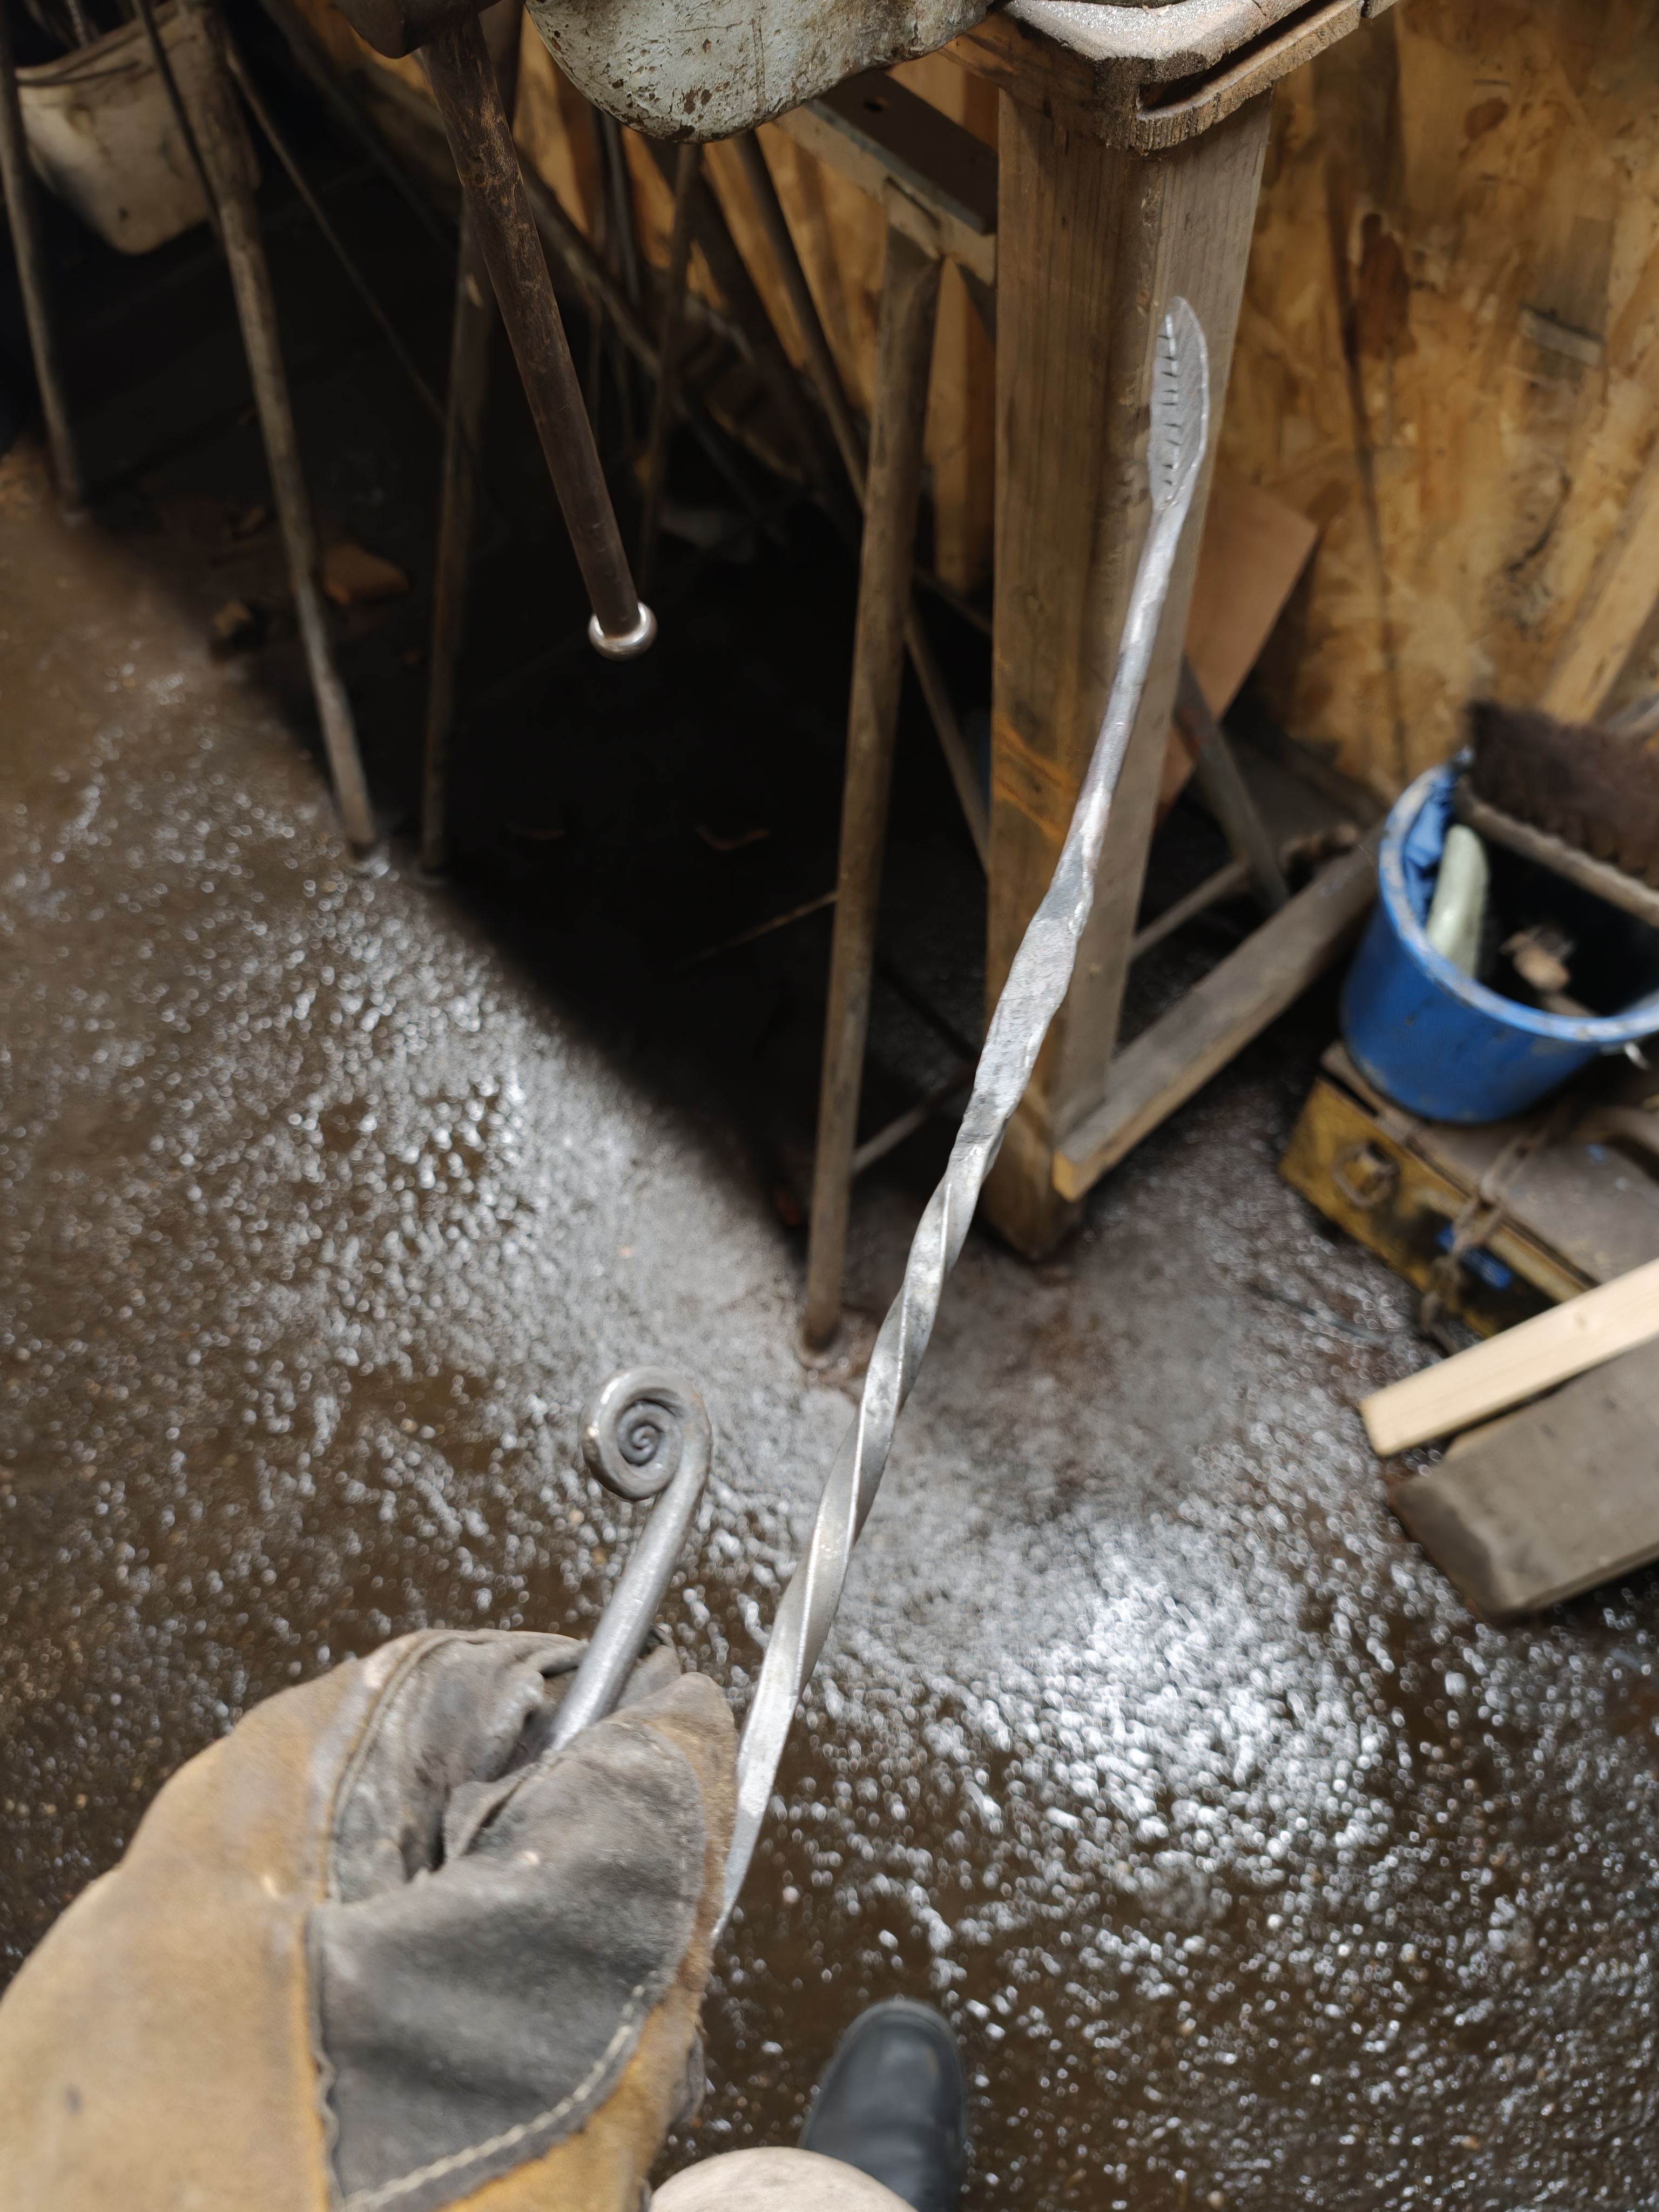
The point of this exercise was to curl the metal into a snail-like shape. This would become a decorative element of the coat hanger. The ask was to not have any space between the curled up layers.
Cold twist
The next part was easy—create a decorative twist of the part that had not been rounded. I have done this before, so I just put it in the vice, grabbed it, and twist it cold.
The nice detail was the tool itself—a wrench that had a welded-on extension to give you more leverage when twisting. In any case, you don't need heat to twist the iron bar this way.
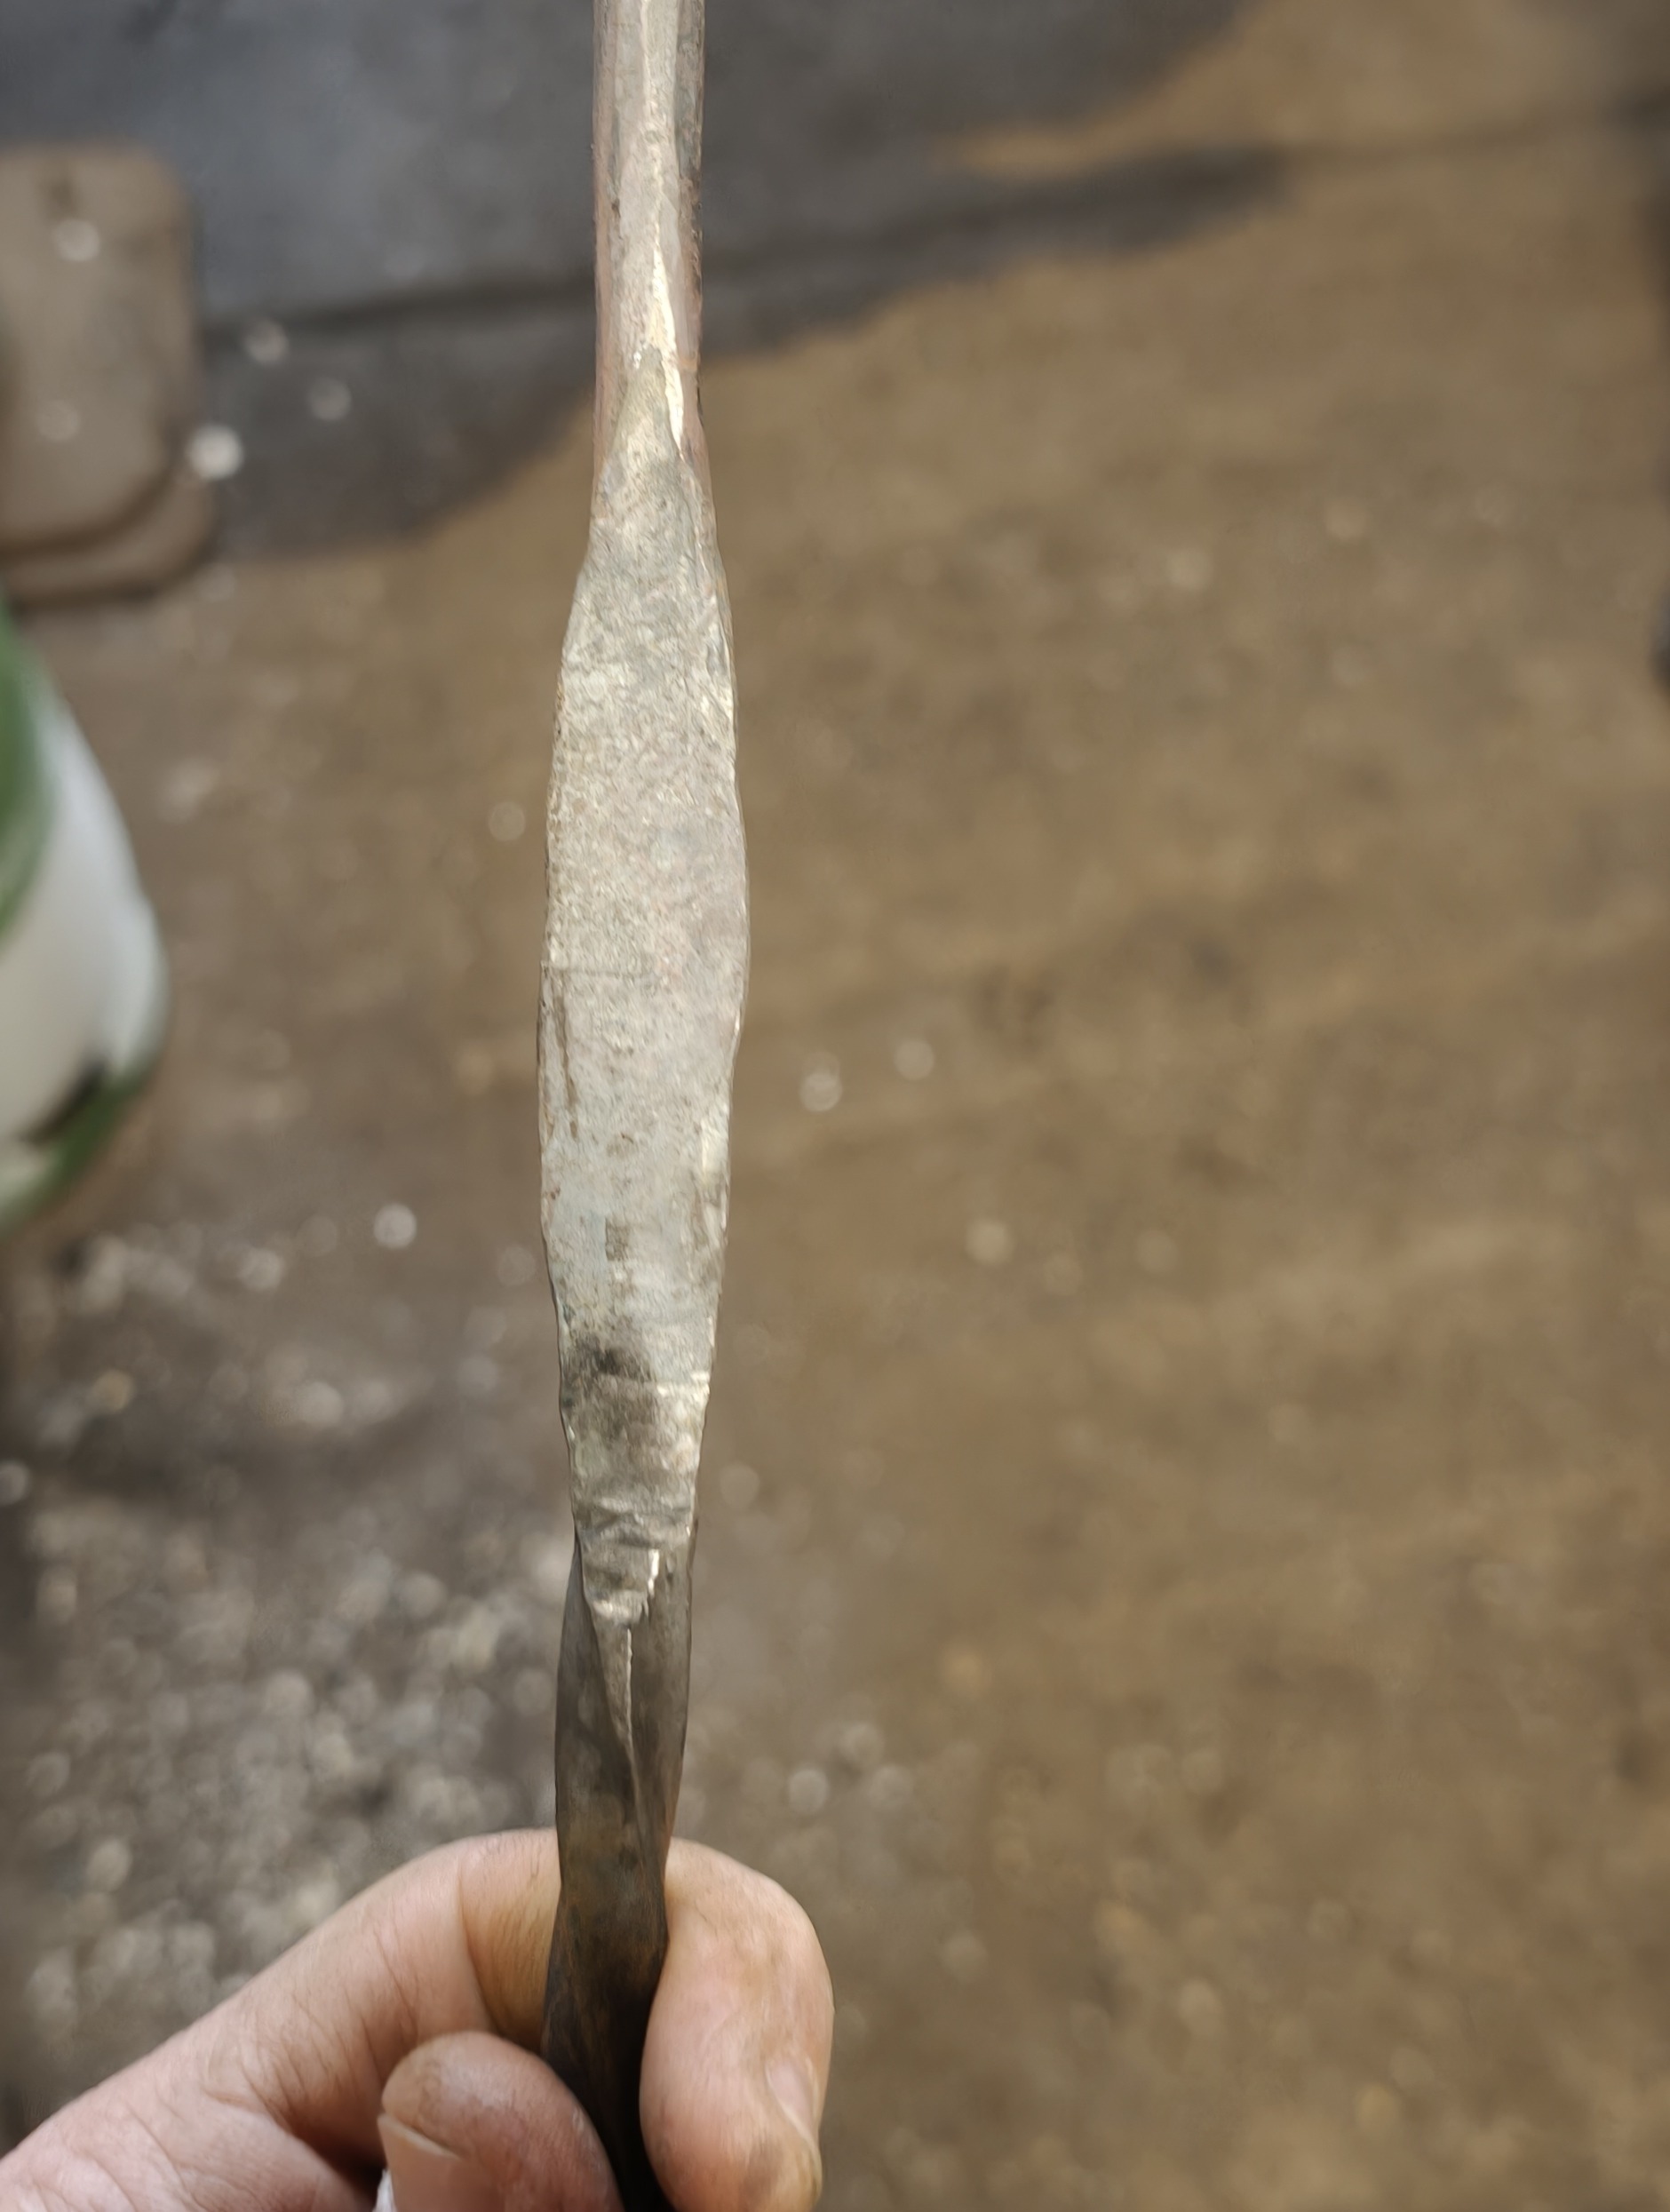
Shape the other end
Two tasks: hammer the middle part of the rod to make a mounting surface; and flatten the opposite end of the rod into a leaf shape.
The first task was straightforward. I flattened the middle section quickly but I wasted a lot of time trying to get it symmetrical. Somewhat symmetrical.
The end of the rod took some hammering to flatten—so I used the 2kg hammer again. I kept rotating and hammering by 90 degrees to make it wider and elongate the tip into a pointy, leaf shape.
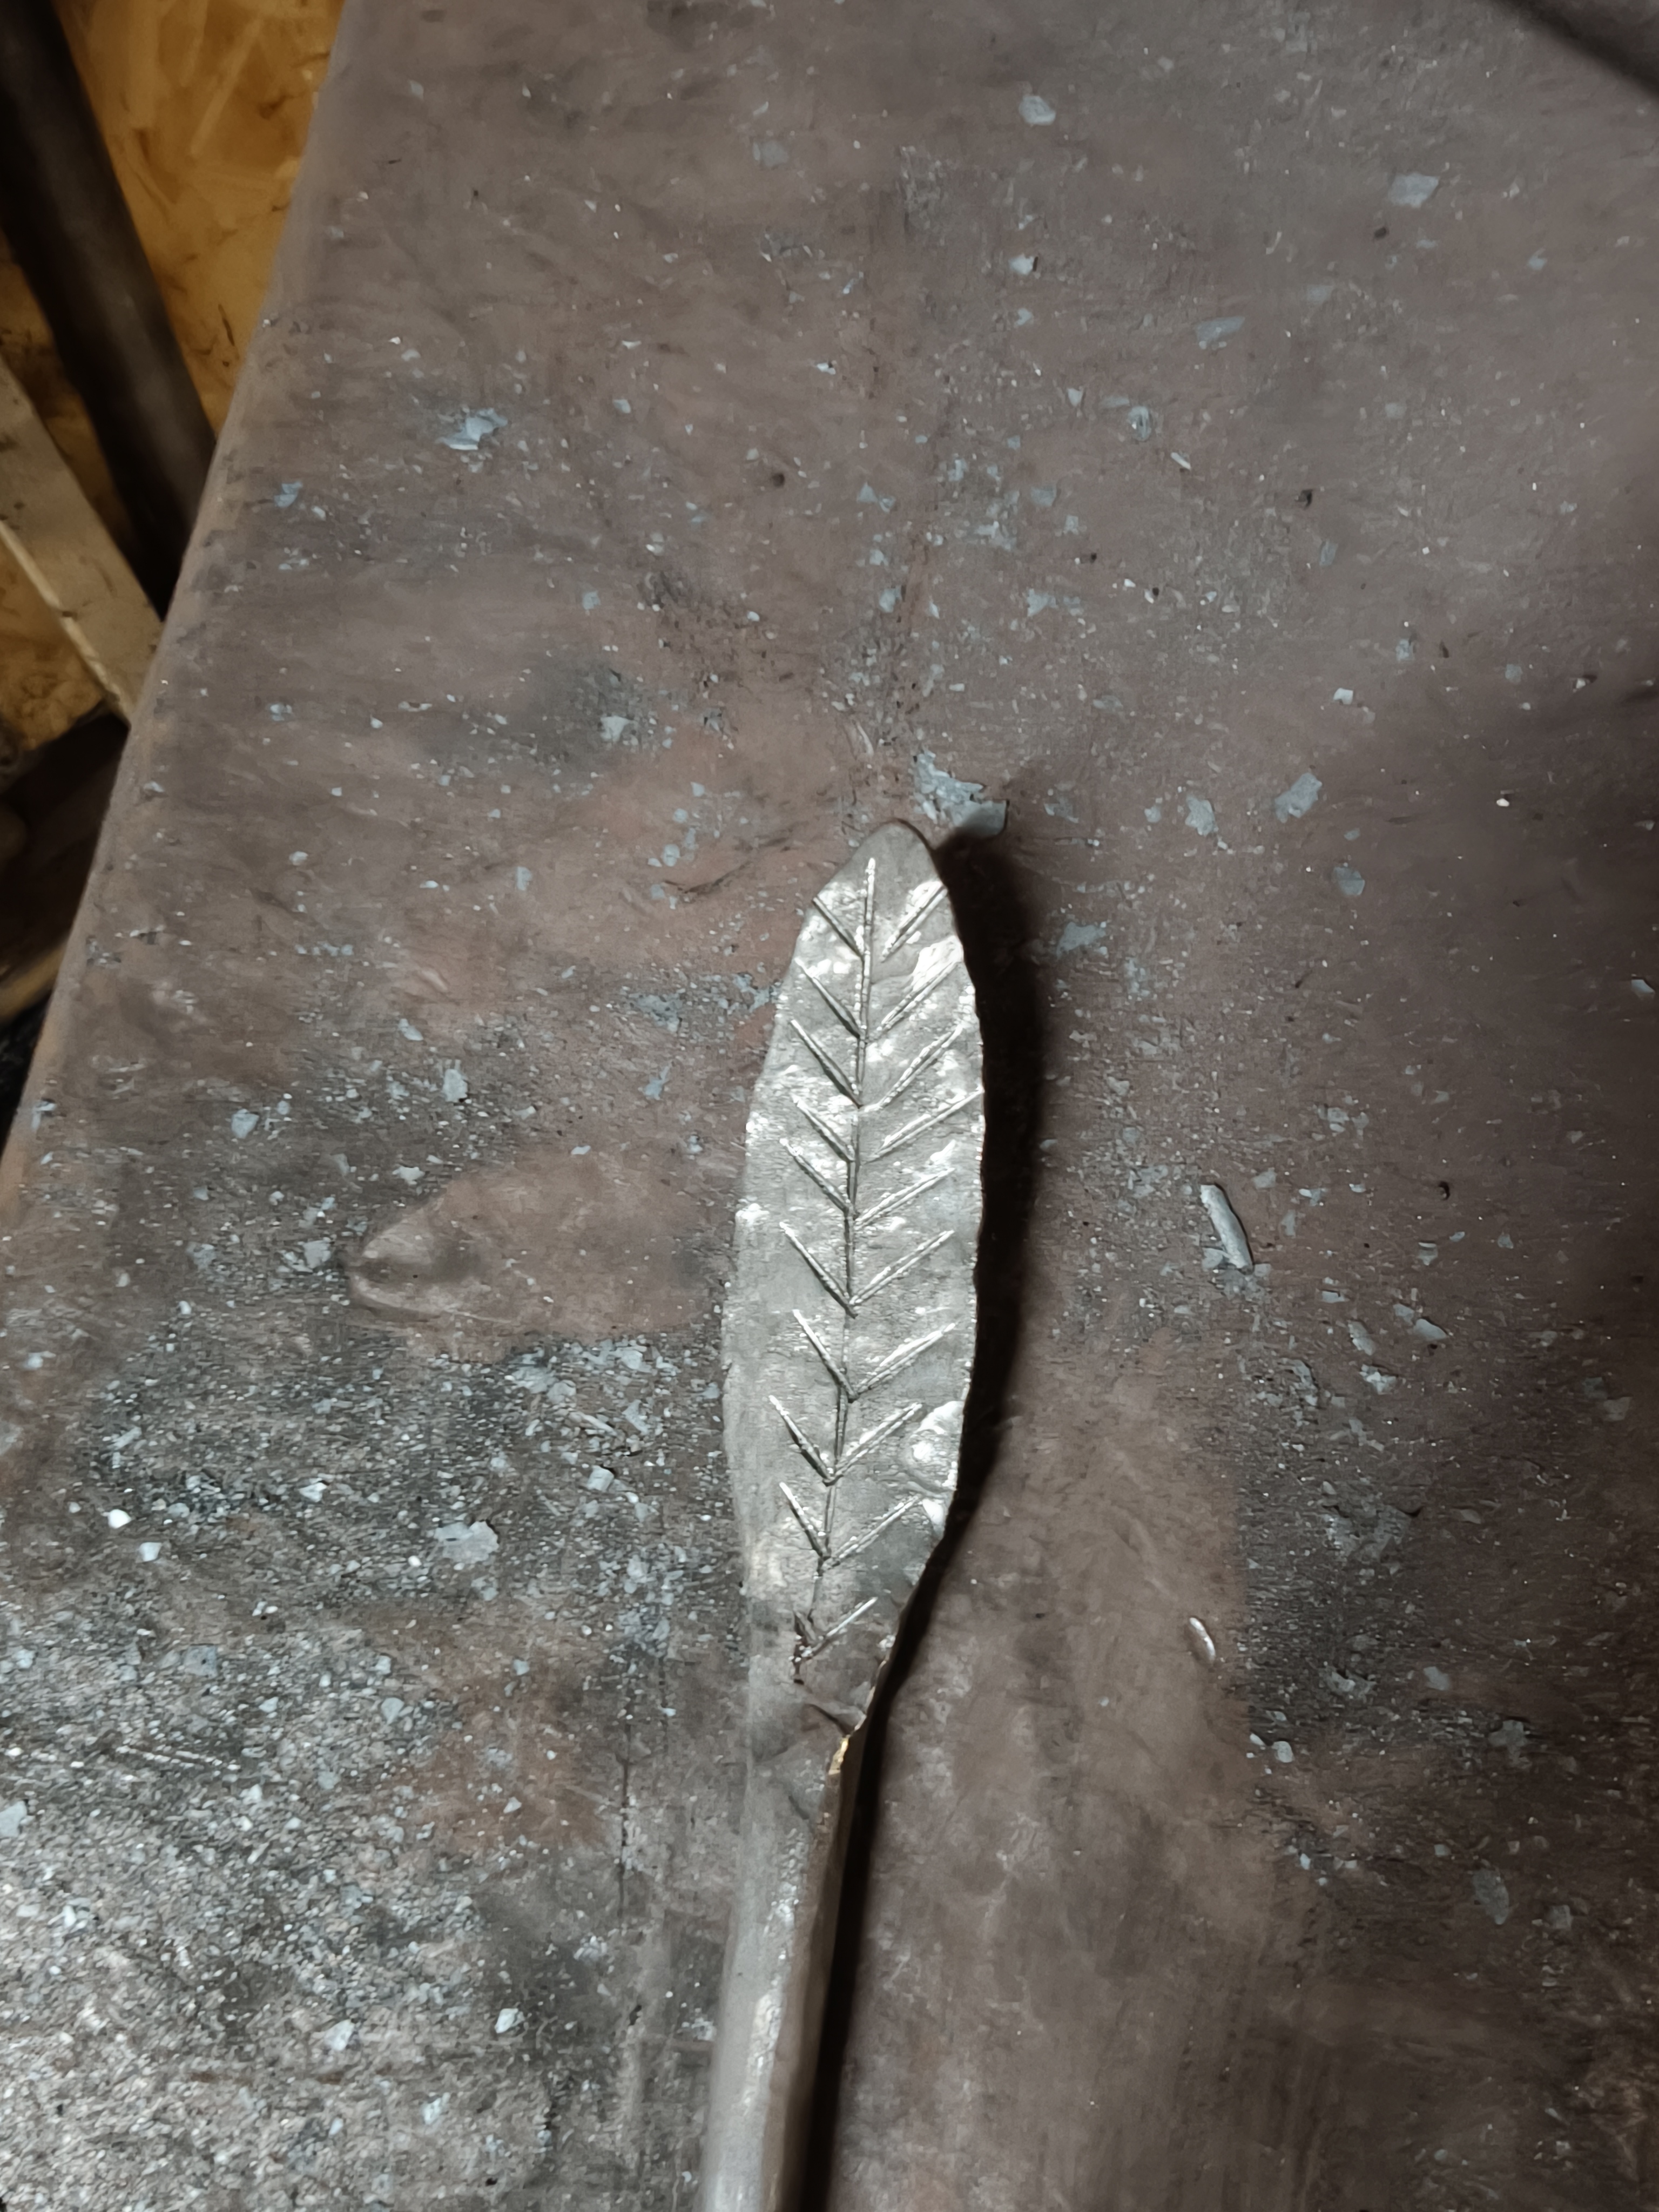
The last thing was to make the little indentations to make the shape actually resemble a leaf.
Everybody needs help sometimes
I held the rod in one hand, and a big hammer in my right hand. The master held the chisel pointed at the middle of the leaf-shaped end. My job was to whack the chisel hard enough to make lines in the cold steel.
His help was instrumental and my biggest concern was missing the chisel and hitting the master's hand. I focused on being as precise as possible and quickly realized the amount of power required to make the dent but keep the control of the hammer so it doesn't bounce.
This was done fairly quickly, in less than 5 minutes. We were approaching the end of the first session.
Outcome
All sweaty, with sore hands, and nostrils full of sulfur—I was happy as a child. I did not even finish the coat hanger. I still had to make the final bend of the branch that had the leaf, and drill the mounting holes. But I was so enamoured with the craft already.
I could have done better, in retrospect, but the point was to learn the basic techniques and familiarize myself with the tools and the surroundings at their forge. I feel like we did that quite well.
My buddy and I left that evening tired but smiling. We were confident about starting the knife-forging, full of impressions, and already talking knife designs.
Making things with your hands and mind is fulfilling. But also, the camaraderie, quick-witted jokes, learning, and sharing that with your friend is priceless.
On to the next one!