Shape the blade
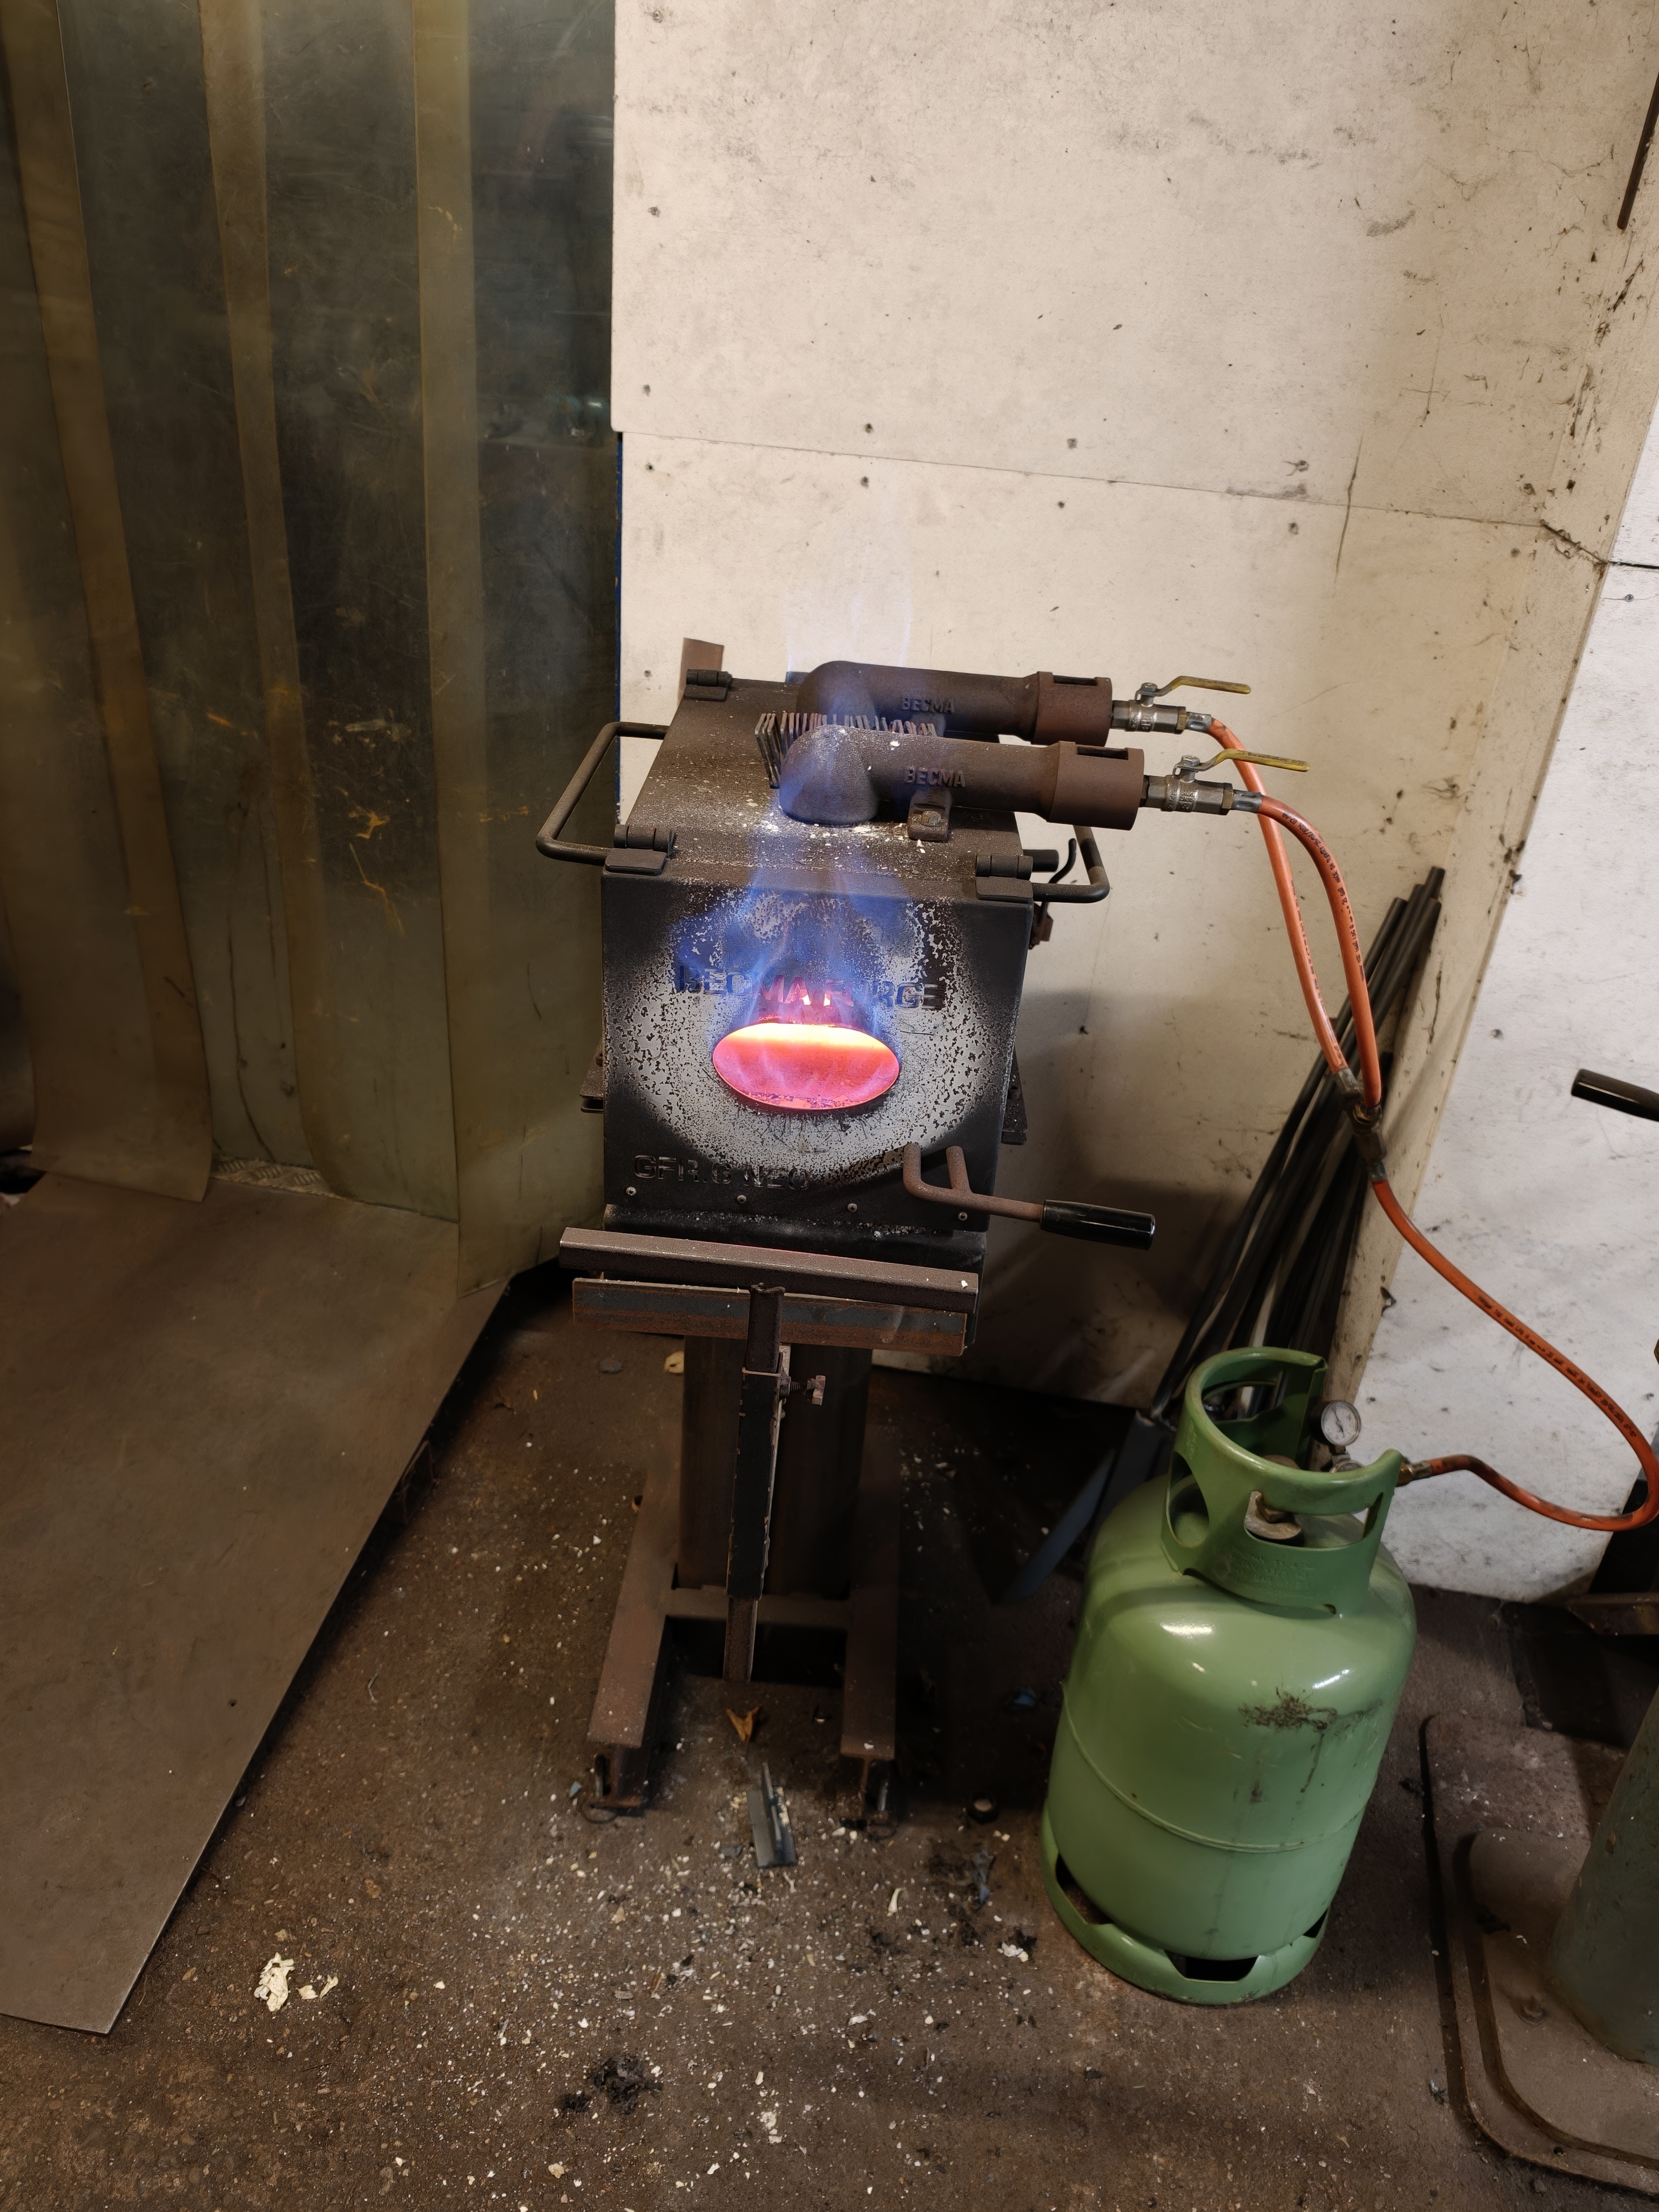
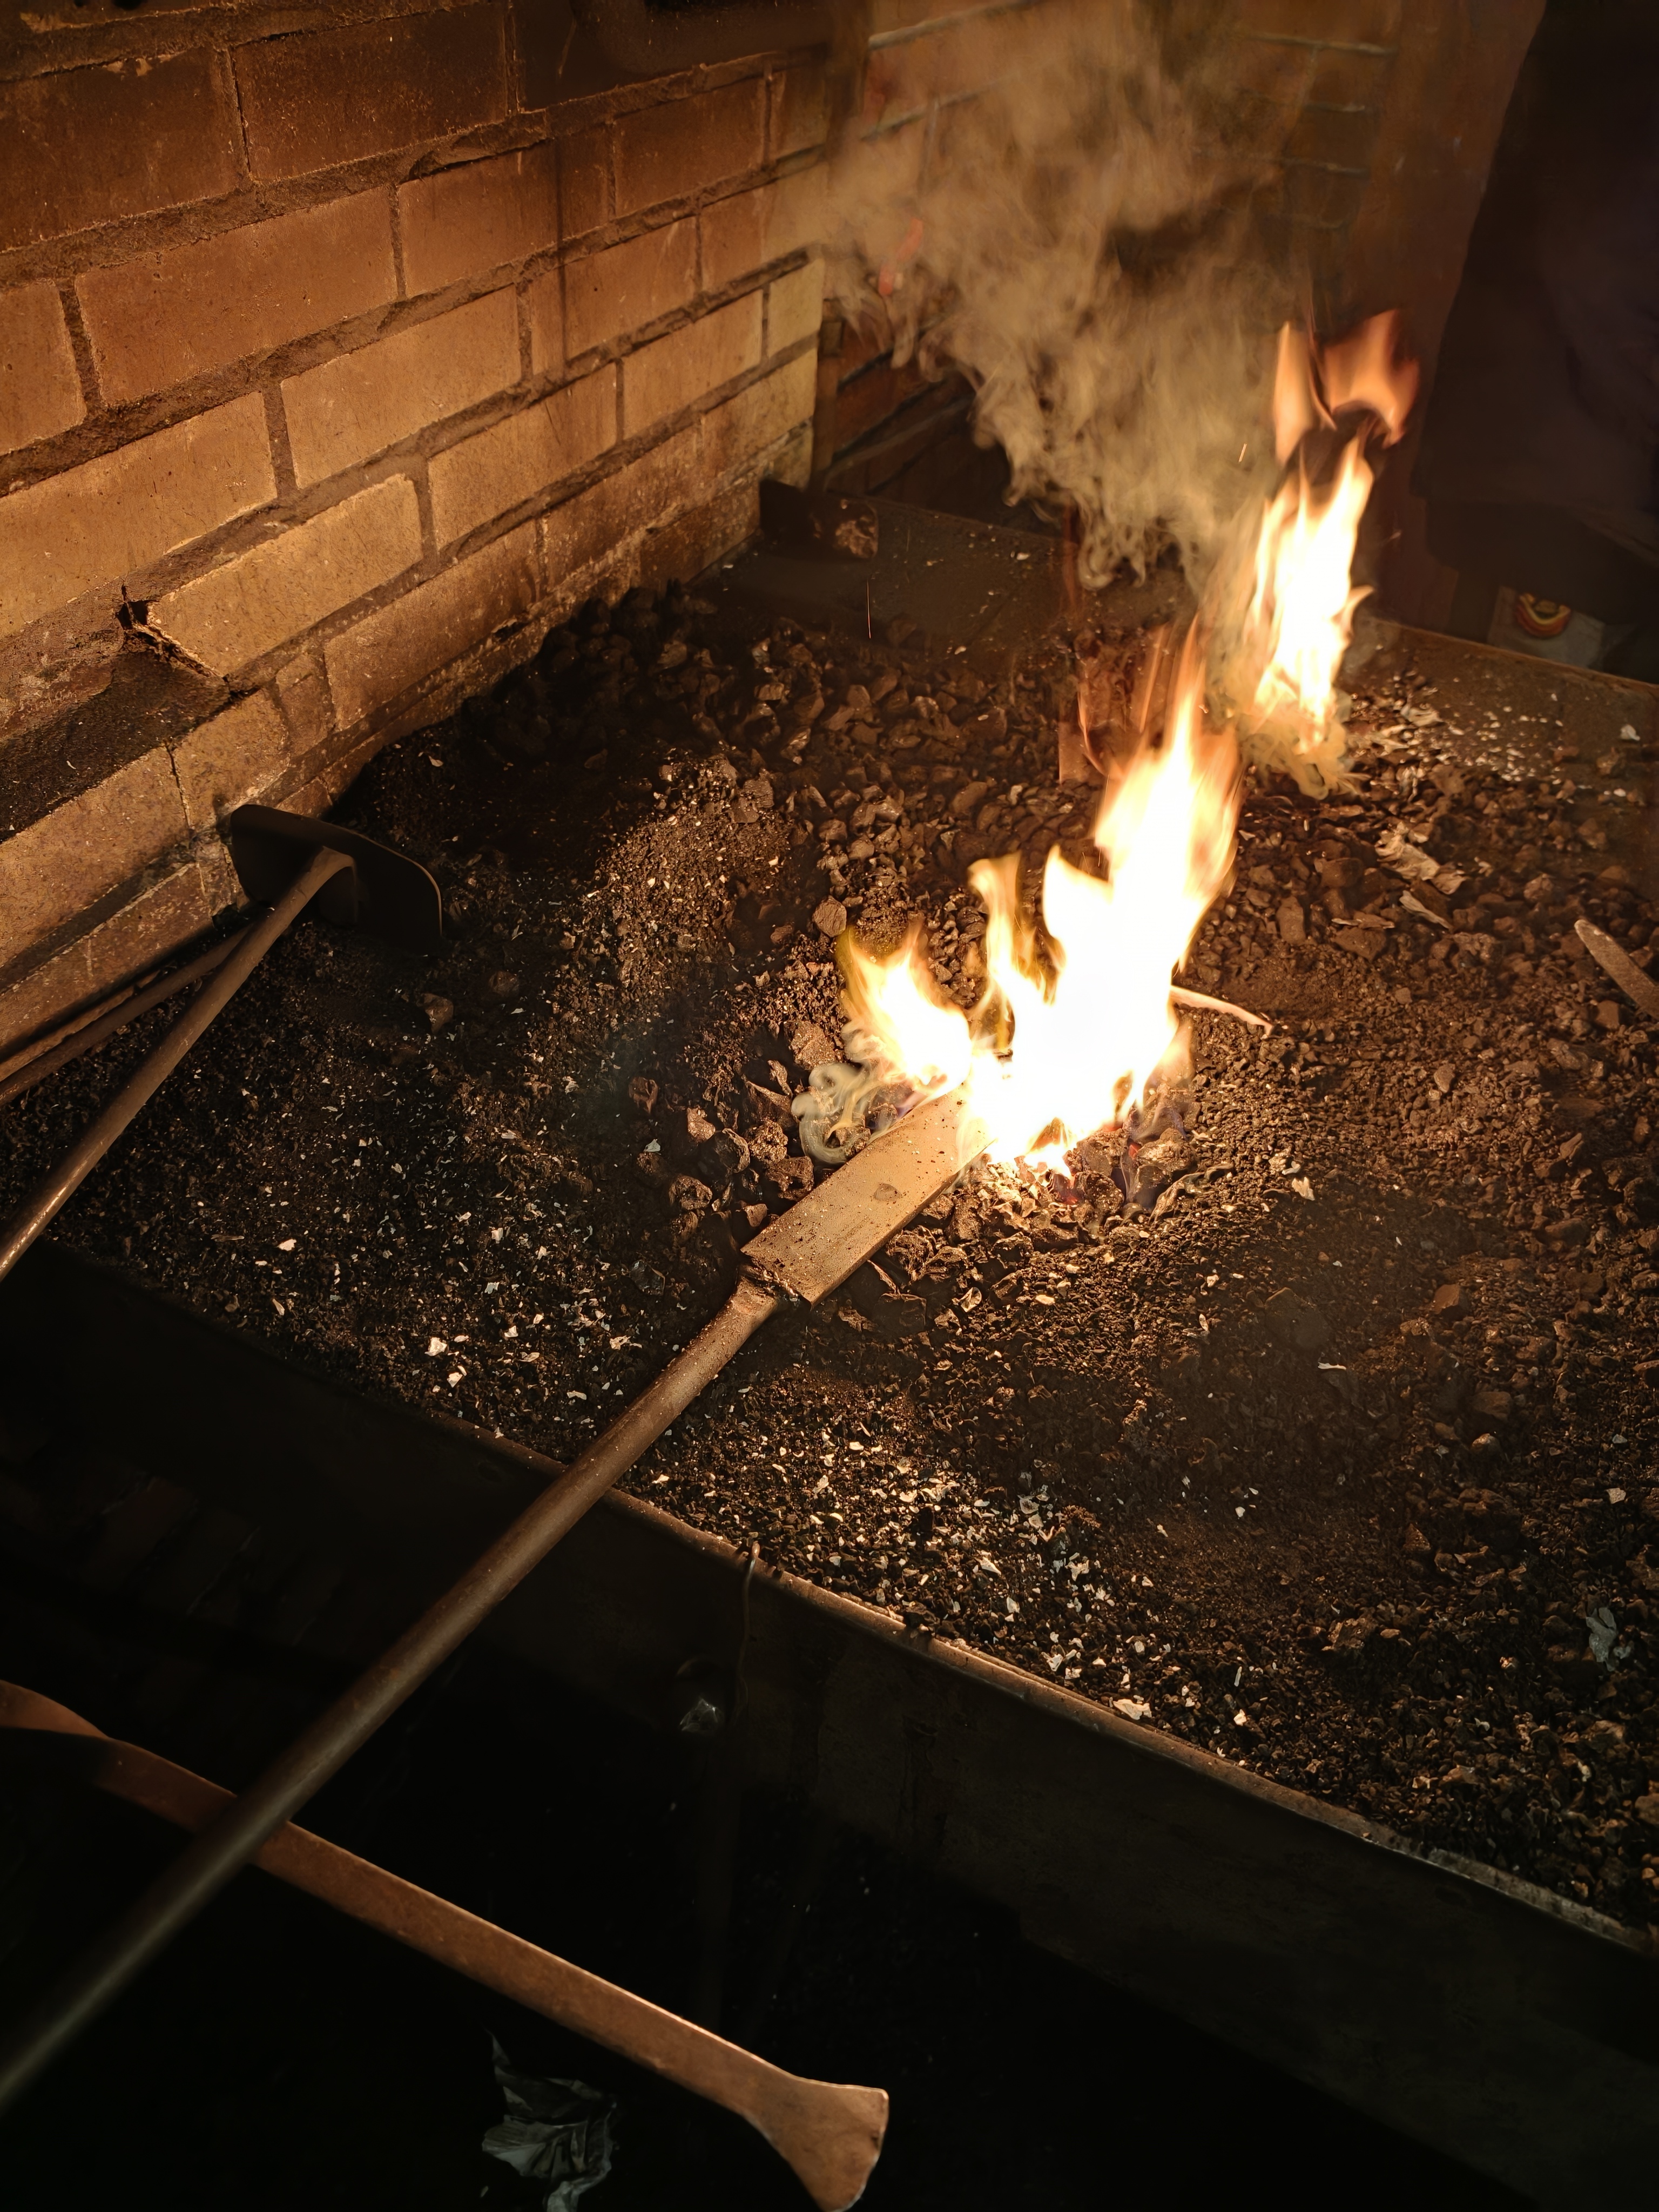
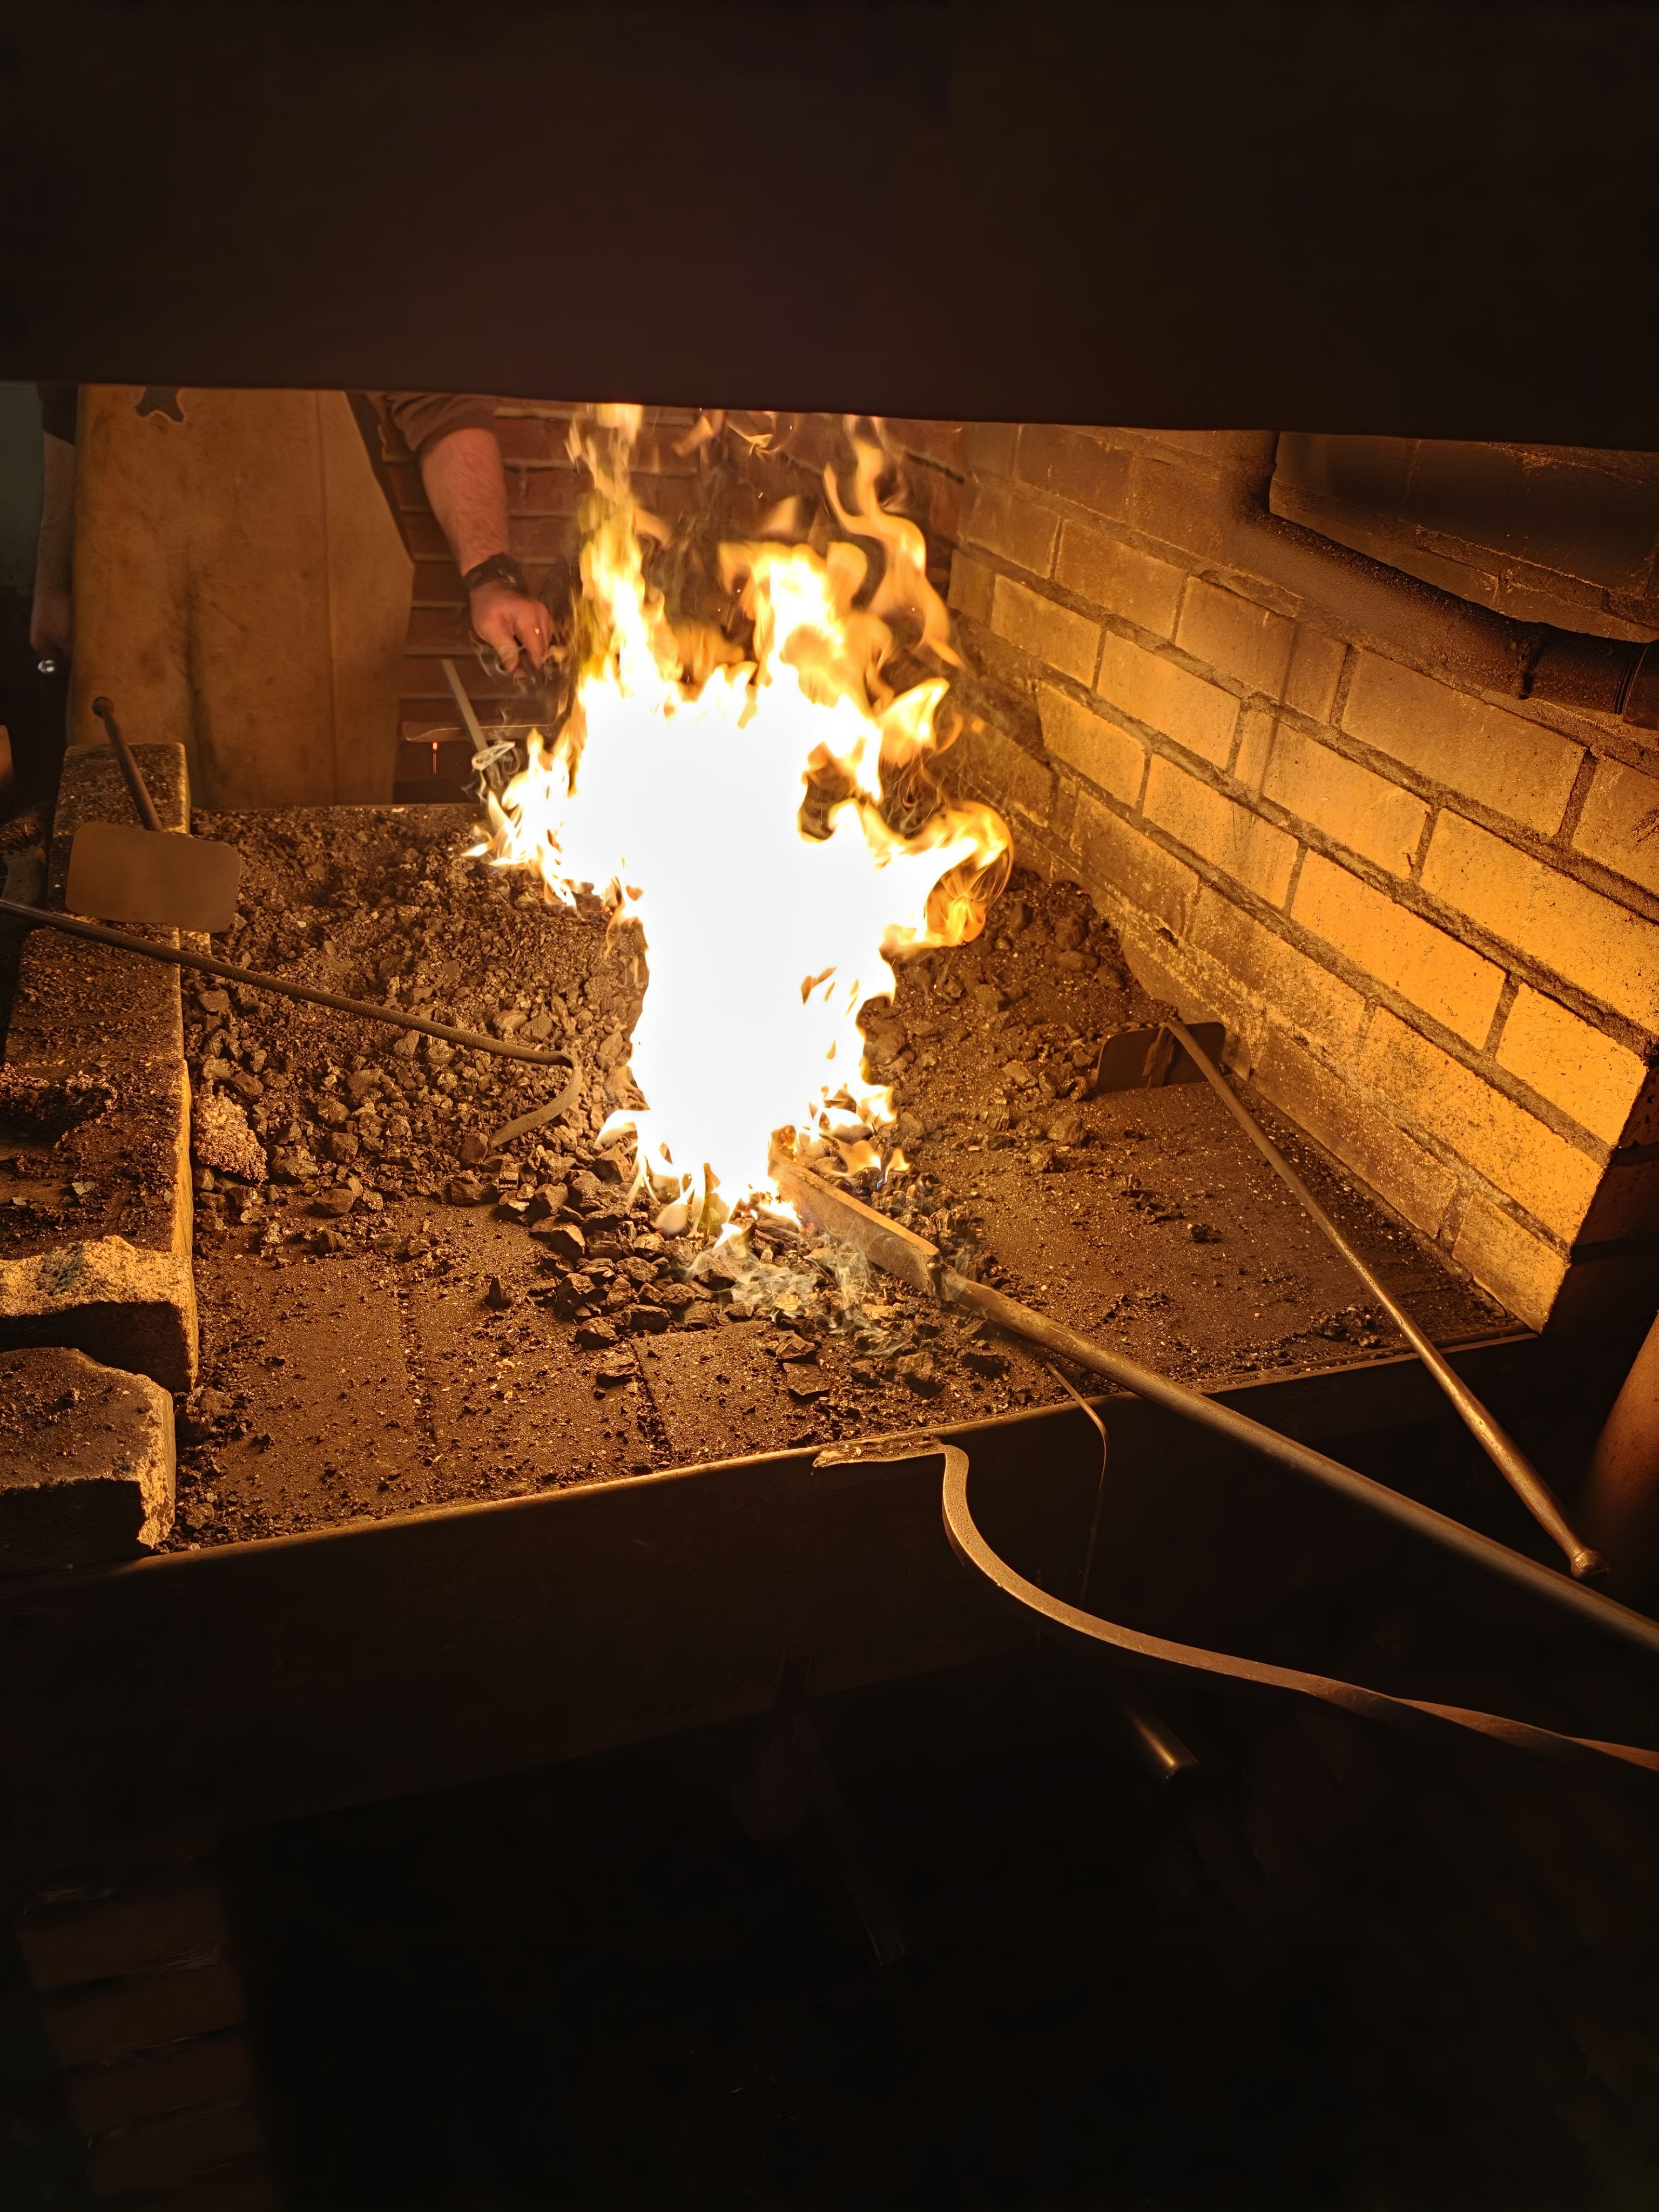
The second evening, we started on the knife. I alternated between the coal and gas forges depending on which one was less crowded.
We got an iron bar welded onto a long iron rod to start with. We could hold it by the rod and hammer out the bar into the desired shape.
Design
The masters asked us to create a wooden or cardboard templates of our knife designs. While some of my co-apprentices chose quite elaborate wavy, or curved dagger designs, several of us were a bit more realistic. :) At least I thought so.
My buddy brought a full-tang utility knife he used anyway on camping trips, and another bloke chose a traditional Saxon knife from his own region.
I, however, saw on the shelf in the workshop something that looked like a blacksmith's knife. The masters called it a viking knife. It is a single piece of iron that you use to make both the blade and the handle.
I googled blacksmith knife and found an image that I liked by Nicholas K. Downing. It had a bit of a sloped spine of the blade in contrast to the shop's viking knife template. And the handle had a nice curve at the end, which we already had made in the first session.
I decided to go for that one.
Shape the iron bar
Having the iron bar welded onto an iron rod meant we did not have to use tongs. As a beginner, and a ludicrously right-handed person, I was very happy about this.
The approach here was to hold the bar vertically, tilted up at an angle and whack it. I used the anvil to some sort of a straight line. Since on every hit, the iron wants to expand vertically, so hitting it from the side then kind of nullifies the effort of making it into a point.
Figuring this out reminded me of learning how to weld: at first you only focus on making the arc, but quickly you start noticing the patterns of how melted iron moves. This was similar, you start understanding that the iron does not really behave "intuitively". But when you understand that and adjust your approach—makes perfect sense.
For example, making the bar thinner. We started from a square piece of iron that was about 12mm thick. If you want to get it down to 6mm of thickness, you got to hammer the flat side, right? Well, as you do that, the bar extends. And the side you are hitting gets longer.
Then you don't have a straight bar anymore, do you? Let alone the shape of the blade you made into a knife-looking pointy bar of iron. Warping was OK according to the masters. They said that it was normal and something that we should fix last.
At this stage, I managed to get the overall thickness down, and get a general shape of the knife blade I wanted.
Bevel the edge
This was strange and hard. I have never done anything similar and especially not with a yellow-hot iron bar. This stage meant I needed to make the blade part taper down from the spine towards the edge, to about 2mm thick, but also taper down from the upper part of the spine towards the tip in a similar fashion. With a big hammer.
I remember at this session, trying to be careful and hammer in small controlled hits. And I was getting nowhere. Then I realized—this is iron! I need to really hit it hard.
I took the big hammer again, and with that rounded off end, started whacking hard from a considerable height for the first time. I remember seeing one of the master's worried look hearing that much noise from one side all of a sudden. I felt very proud when he inspected the work and nodded in approval.
Fix cracks
Previously, one of the masters helped me mark with a chisel how much of the bar I needed to leave for the handle. At the time, I had hit his chisel too hard and left a deeper mark.
This mark turned into a crack as I forged the bevelled edge and the tip. We had to fix it to prevent it from spreading and utterly cracking the whole blade.
The master suggested to weld it a bit and I asked for permission to do so alone. Again, the doubtful but inquisitive look. He asked me to show him I knew how to stick weld on a random piece of flat iron. I did so in a couple of minutes and showed him my zig-zag pattern that had fused the two metal pieces together.
Another nod of approval. He just left me to work and went to check on the others. I messed it up. Had to grind a bit off with an angle grinder. :)
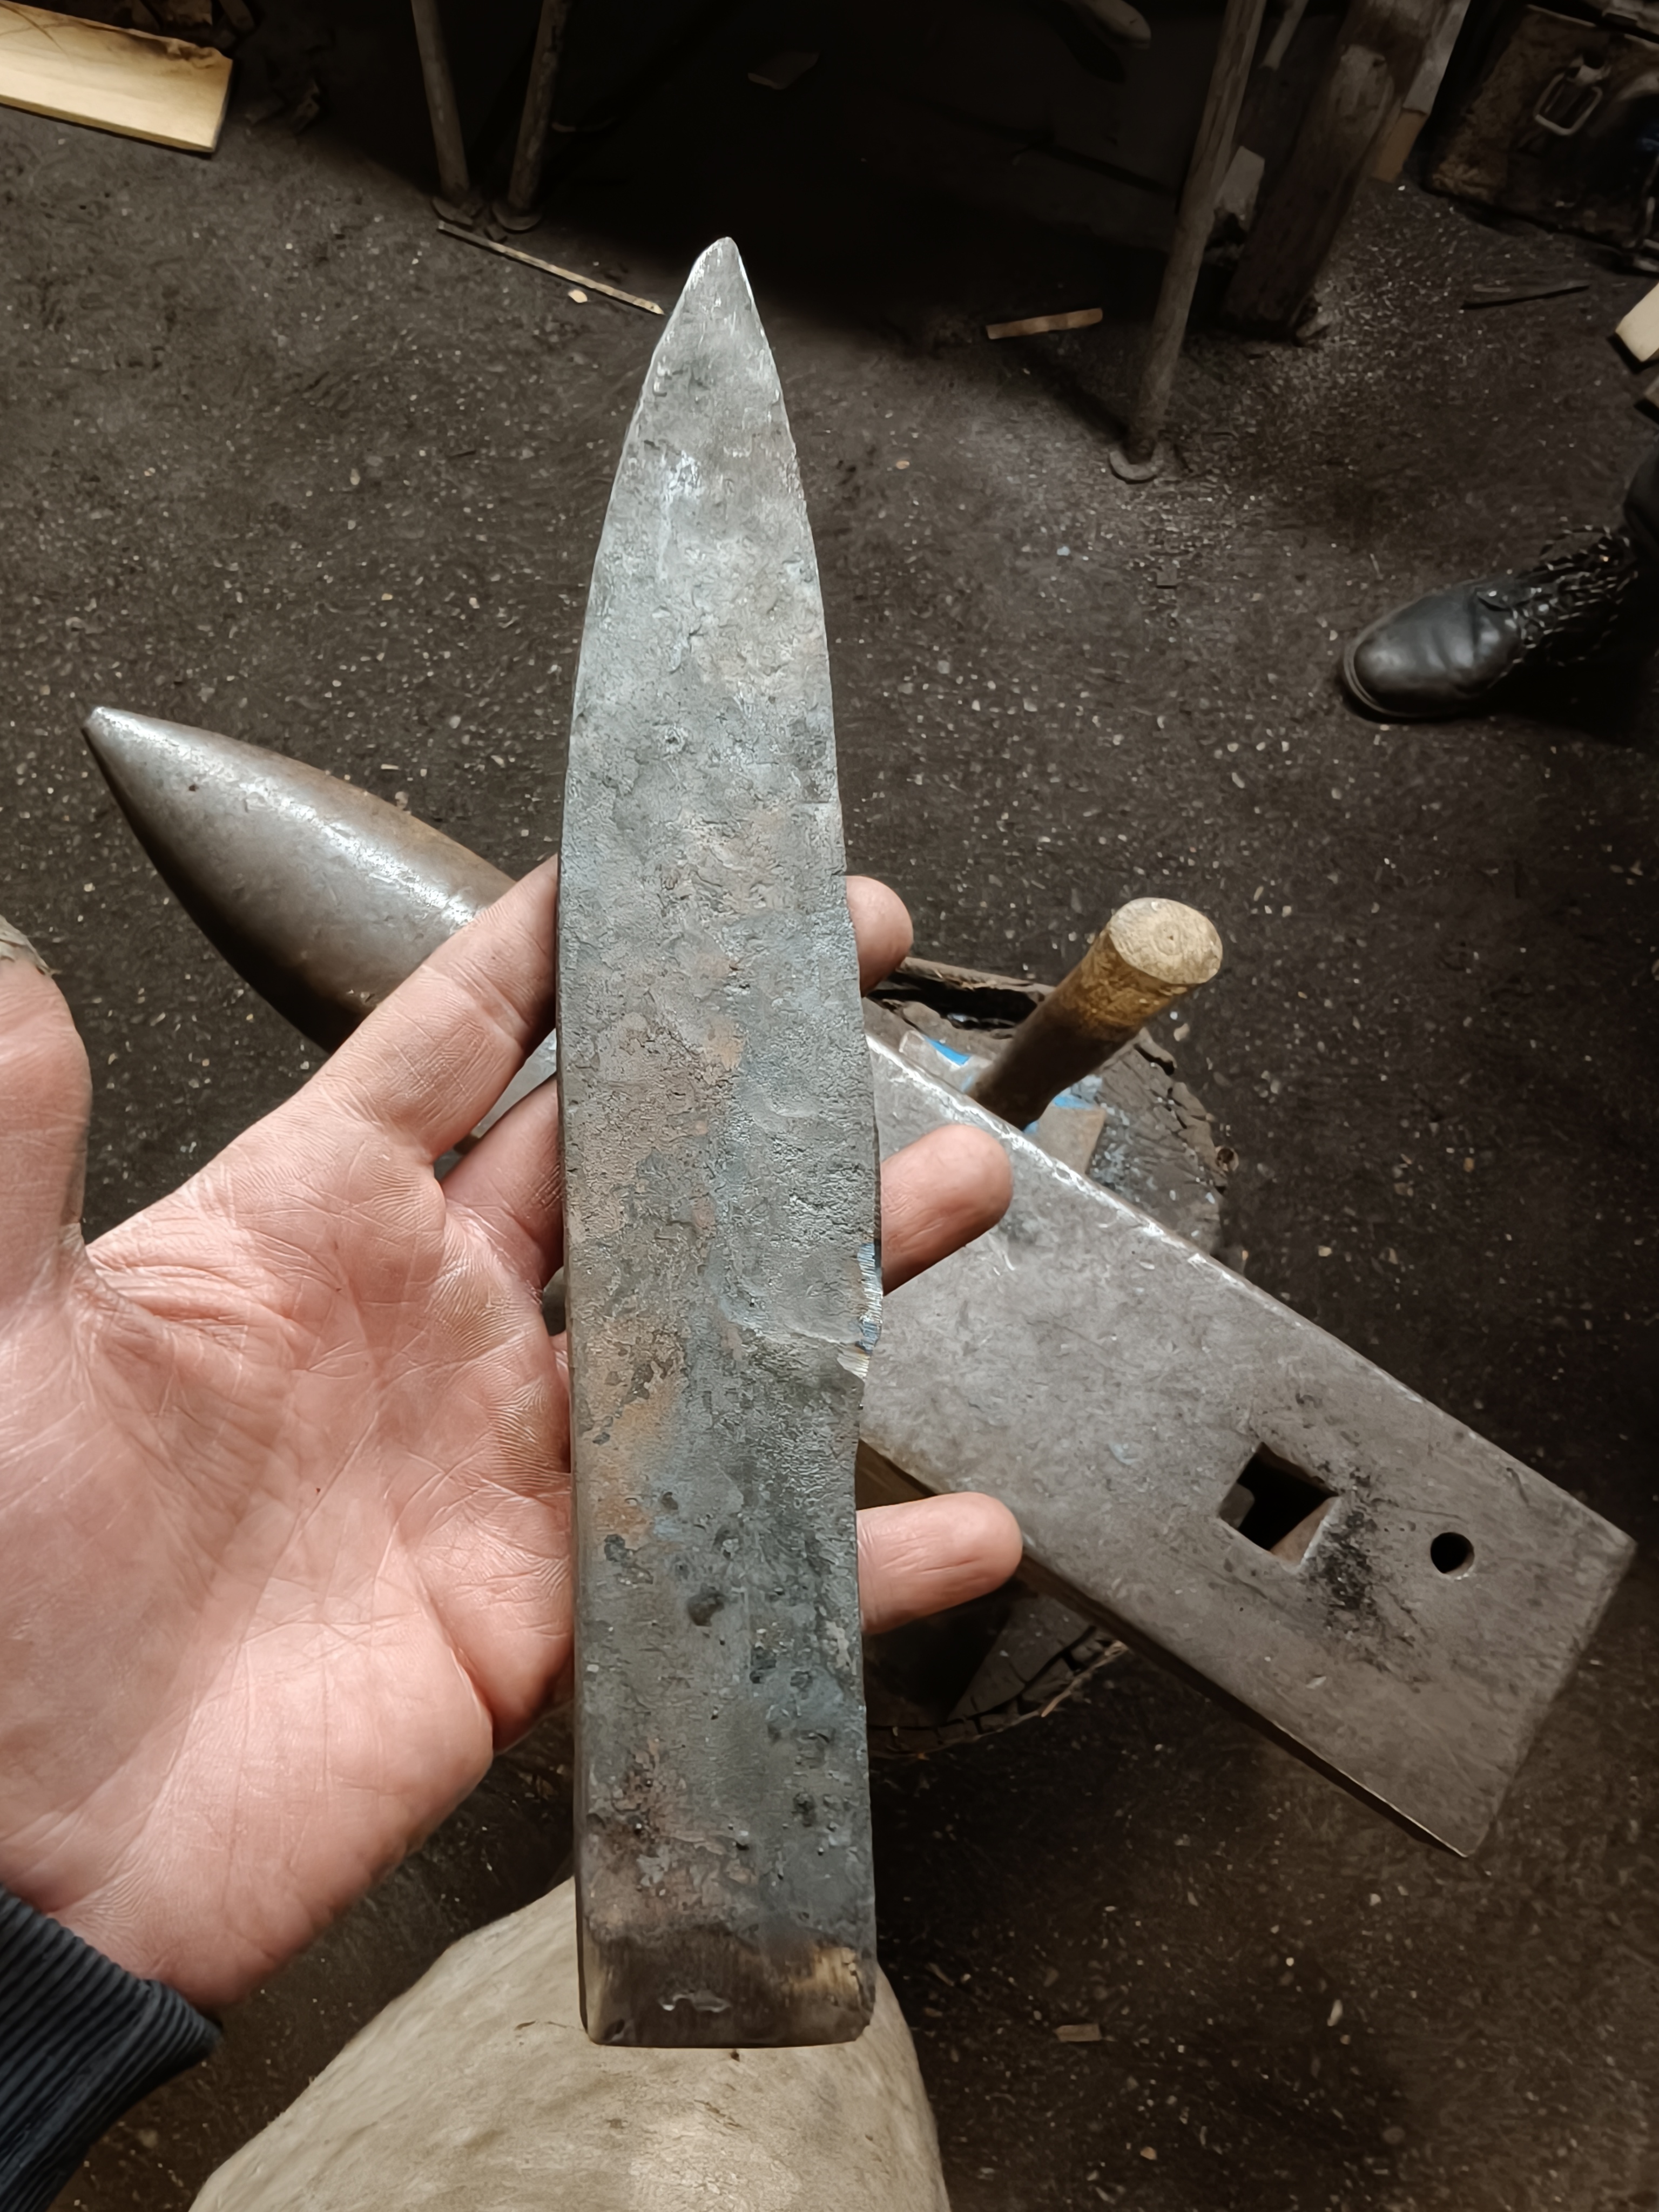
Outcome
Three hours of hammering and I ended up with something questionably pointier than the rod I started with. :)
In all honesty, the bevel was there, and the overall shape of the blade. It did look quite ugly with the square end of the bar instead of the handle.
But I did it. I felt a sense of accomplishment and devised an entire plan what I wanted to fix the following week. It was of course, not entirely correct—but live and learn.