Third session
The goal of the third session was to finish the blade profile and start to shape the handle. This would have left us the final session to file and sharpen the knife.
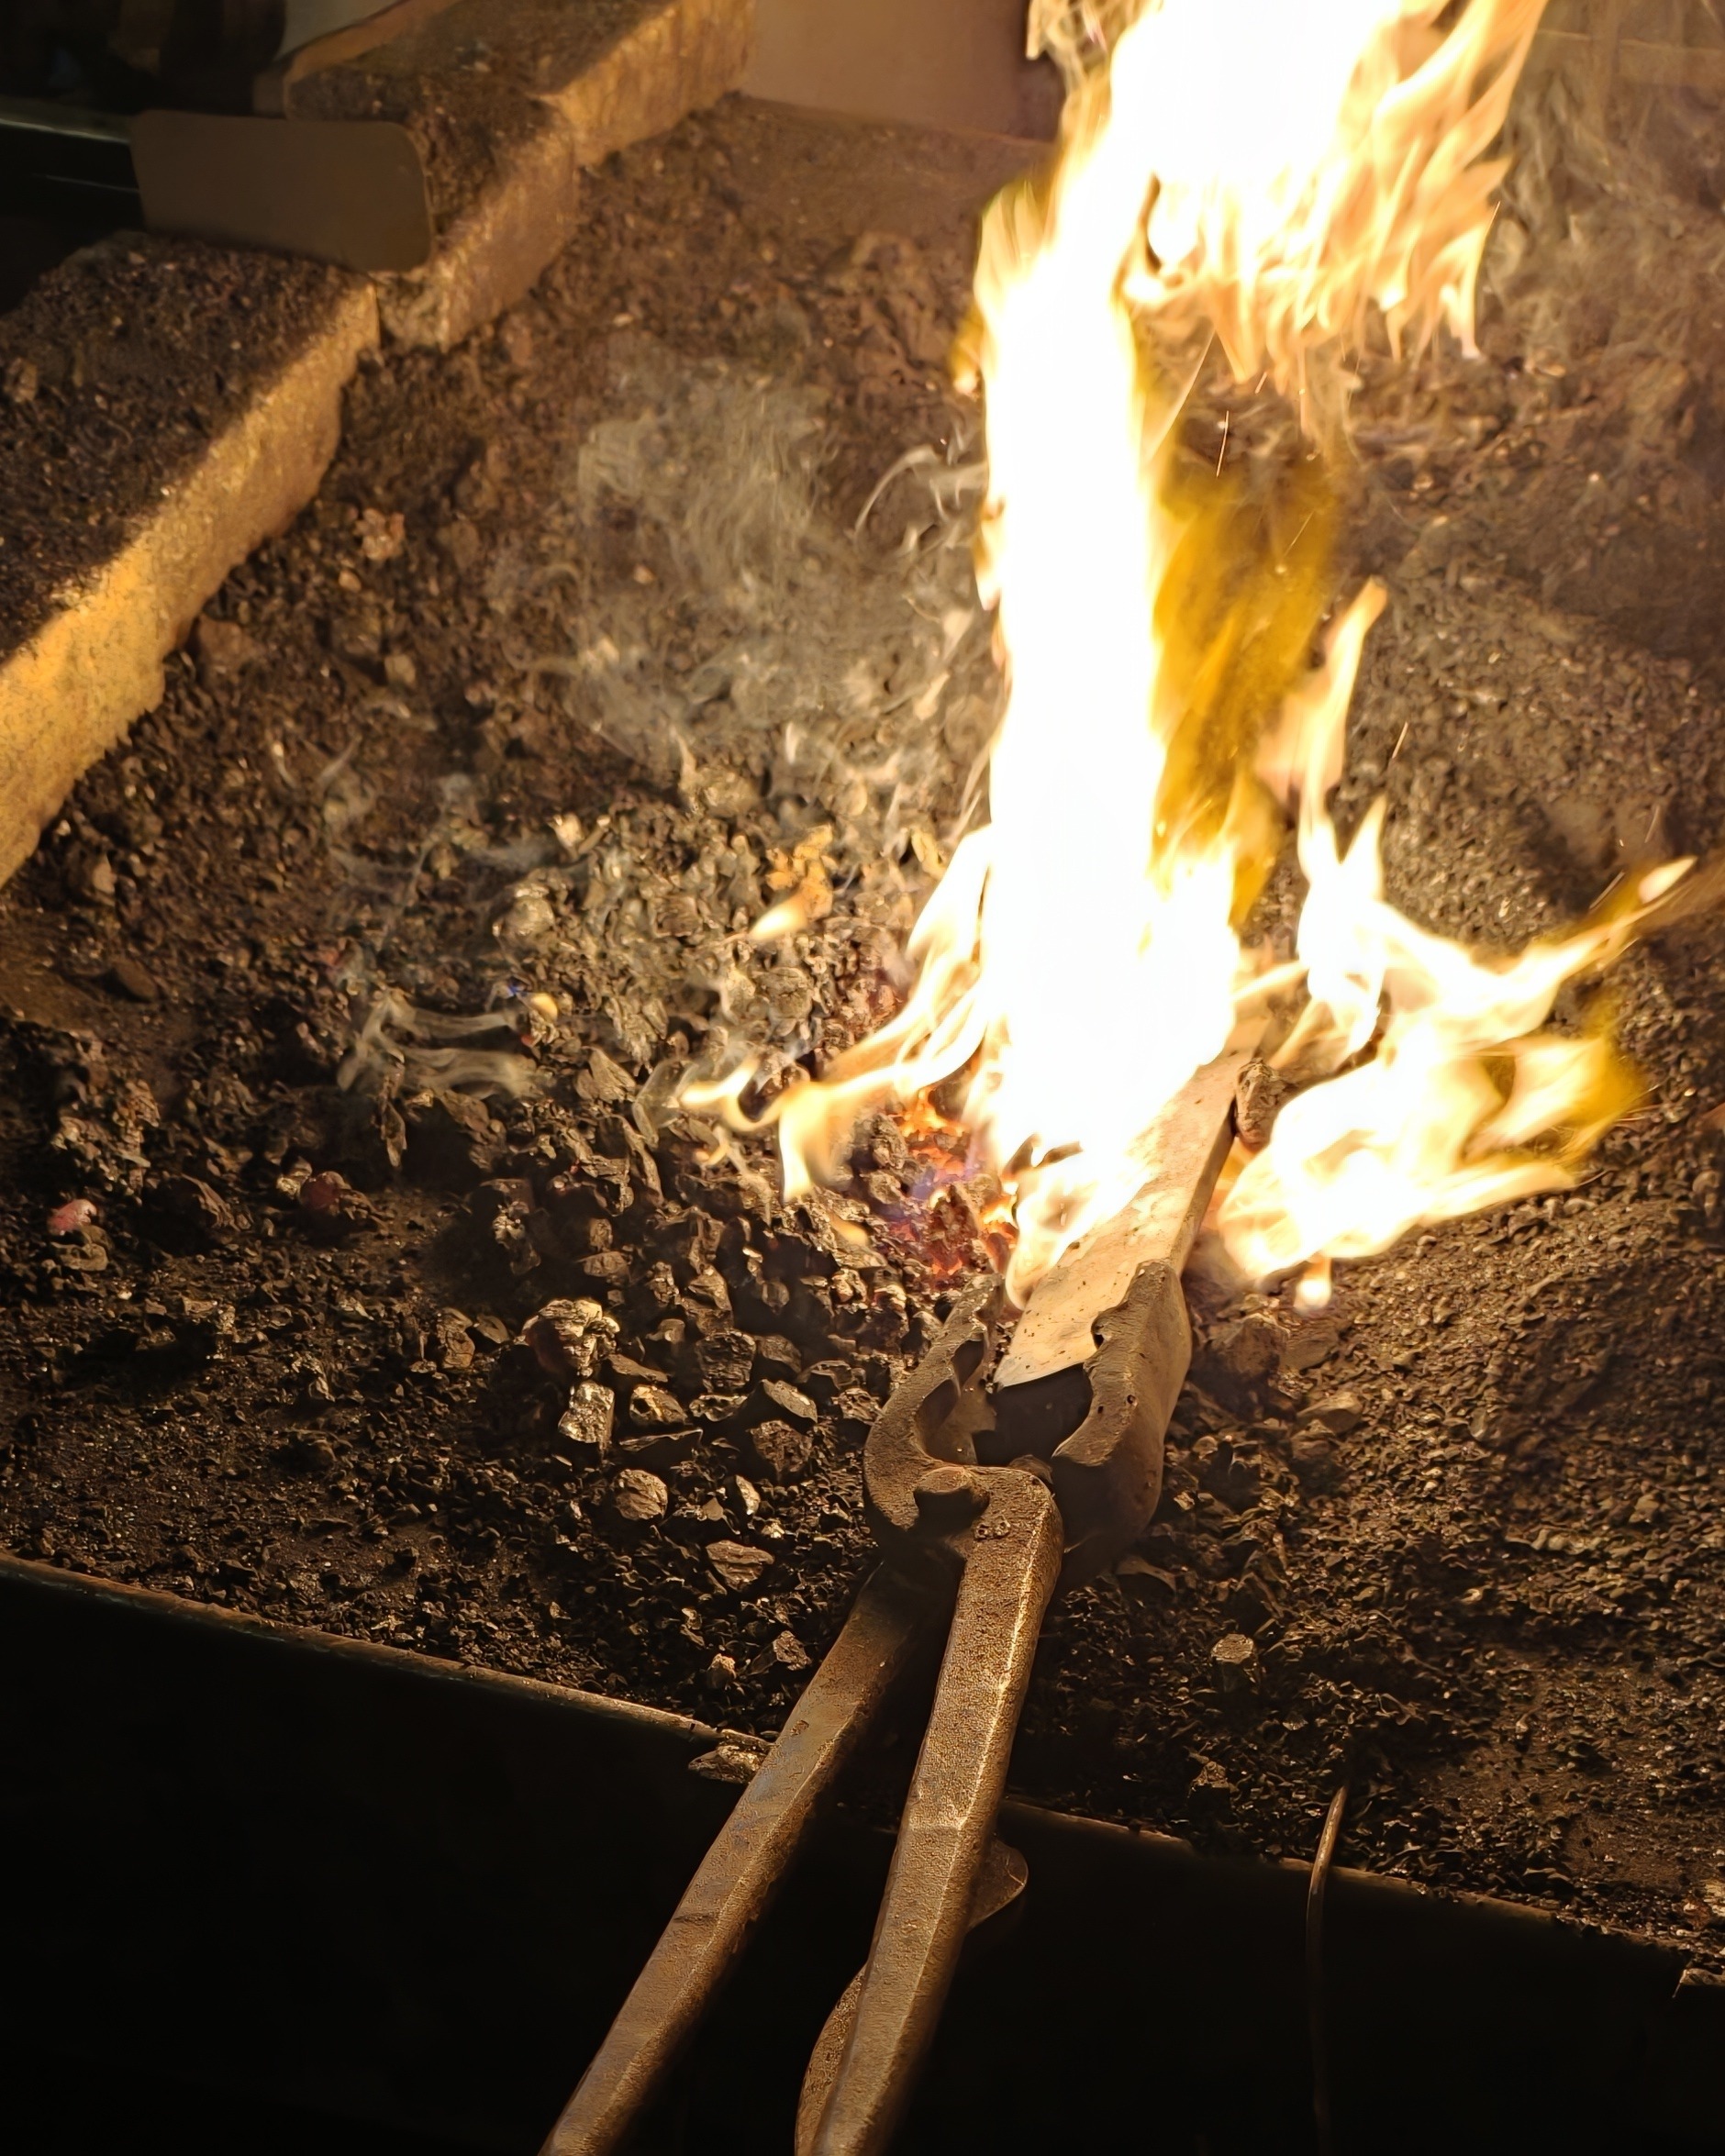
Because of my design choice, I had to draw out the other end of the steel bar into a looong metal rod. So back into the fire we went.
Finish the profile
I still had to bevel the sides so they slope or taper down correctly towards the edge. And still maintain the shape I envisioned. As I mentioned, trying to hammer against the anvil to get the sides done expands the steel and the edge gets longer. So you lose the shape of the knife you made. And it warps. All. The. Time.
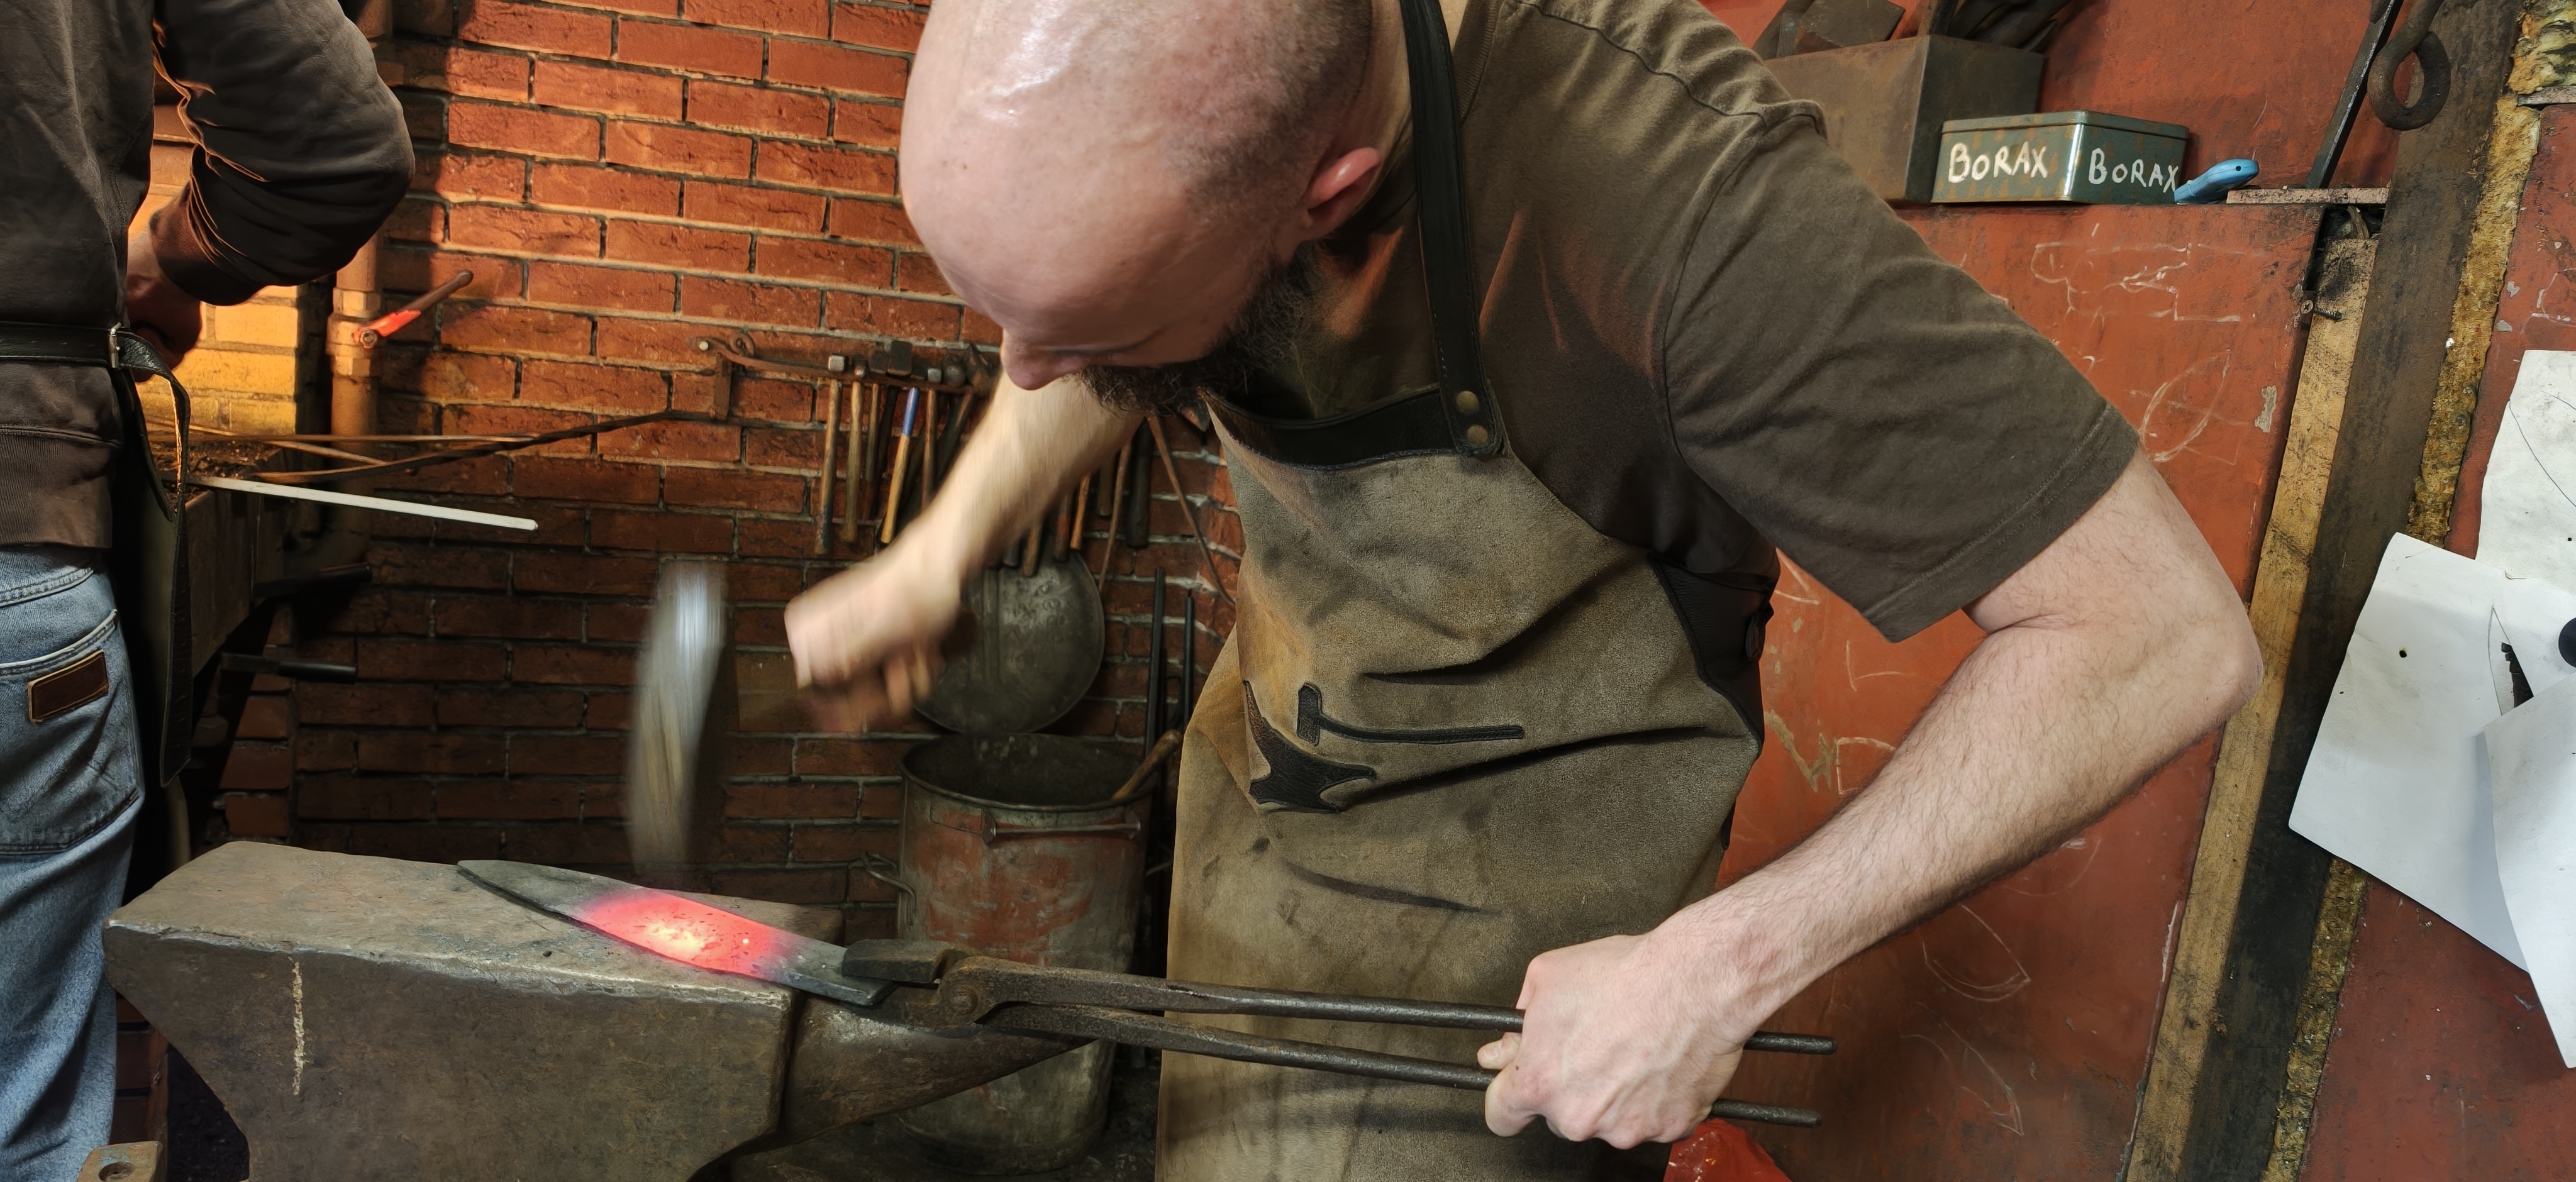
The masters continued correcting our technique. It was insightful to learn which part of the anvil to use for a particular job. They showed us how the hammering sounds and bounces off differently in various parts of the anvil.
I experienced it before, but this workshop confirmet it—the horn of the anvil is the greatest invention since the wheel! As its cone tapers down into a point, it elegantly gives you a template for any circumference you might need to make.
Inexperience takes its toll
There was this old-school manual steel press in the workshop. Since the idea was to use the non-electric tools, the masters encouraged us to work in pairs to make the drawing out of the edge quicker.
It was quite crowded, so I did not use it much. But one of the masters remarked that I would need a lot of hammering for my type of knife and encouraged me to give it a go.
The press worked the following way: one person sets the dials that squeeze the iron and moves the rod; the other person is the muscle. This meant turning a huge wheel at the top of it—the upper dial would move up and down the huge center axis and press the hot iron.
However, turning the wheel was the easy part. The hard part was to fix the dials in the proper position and place the hot iron exactly right to draw out the length in the direction you wanted. We messed up the dials and changed the shape of the blade instead of starting to draw out the handle.
This meant I had to either take time to learn how to use the press properly, or go back to the hammer.
Fix the blade
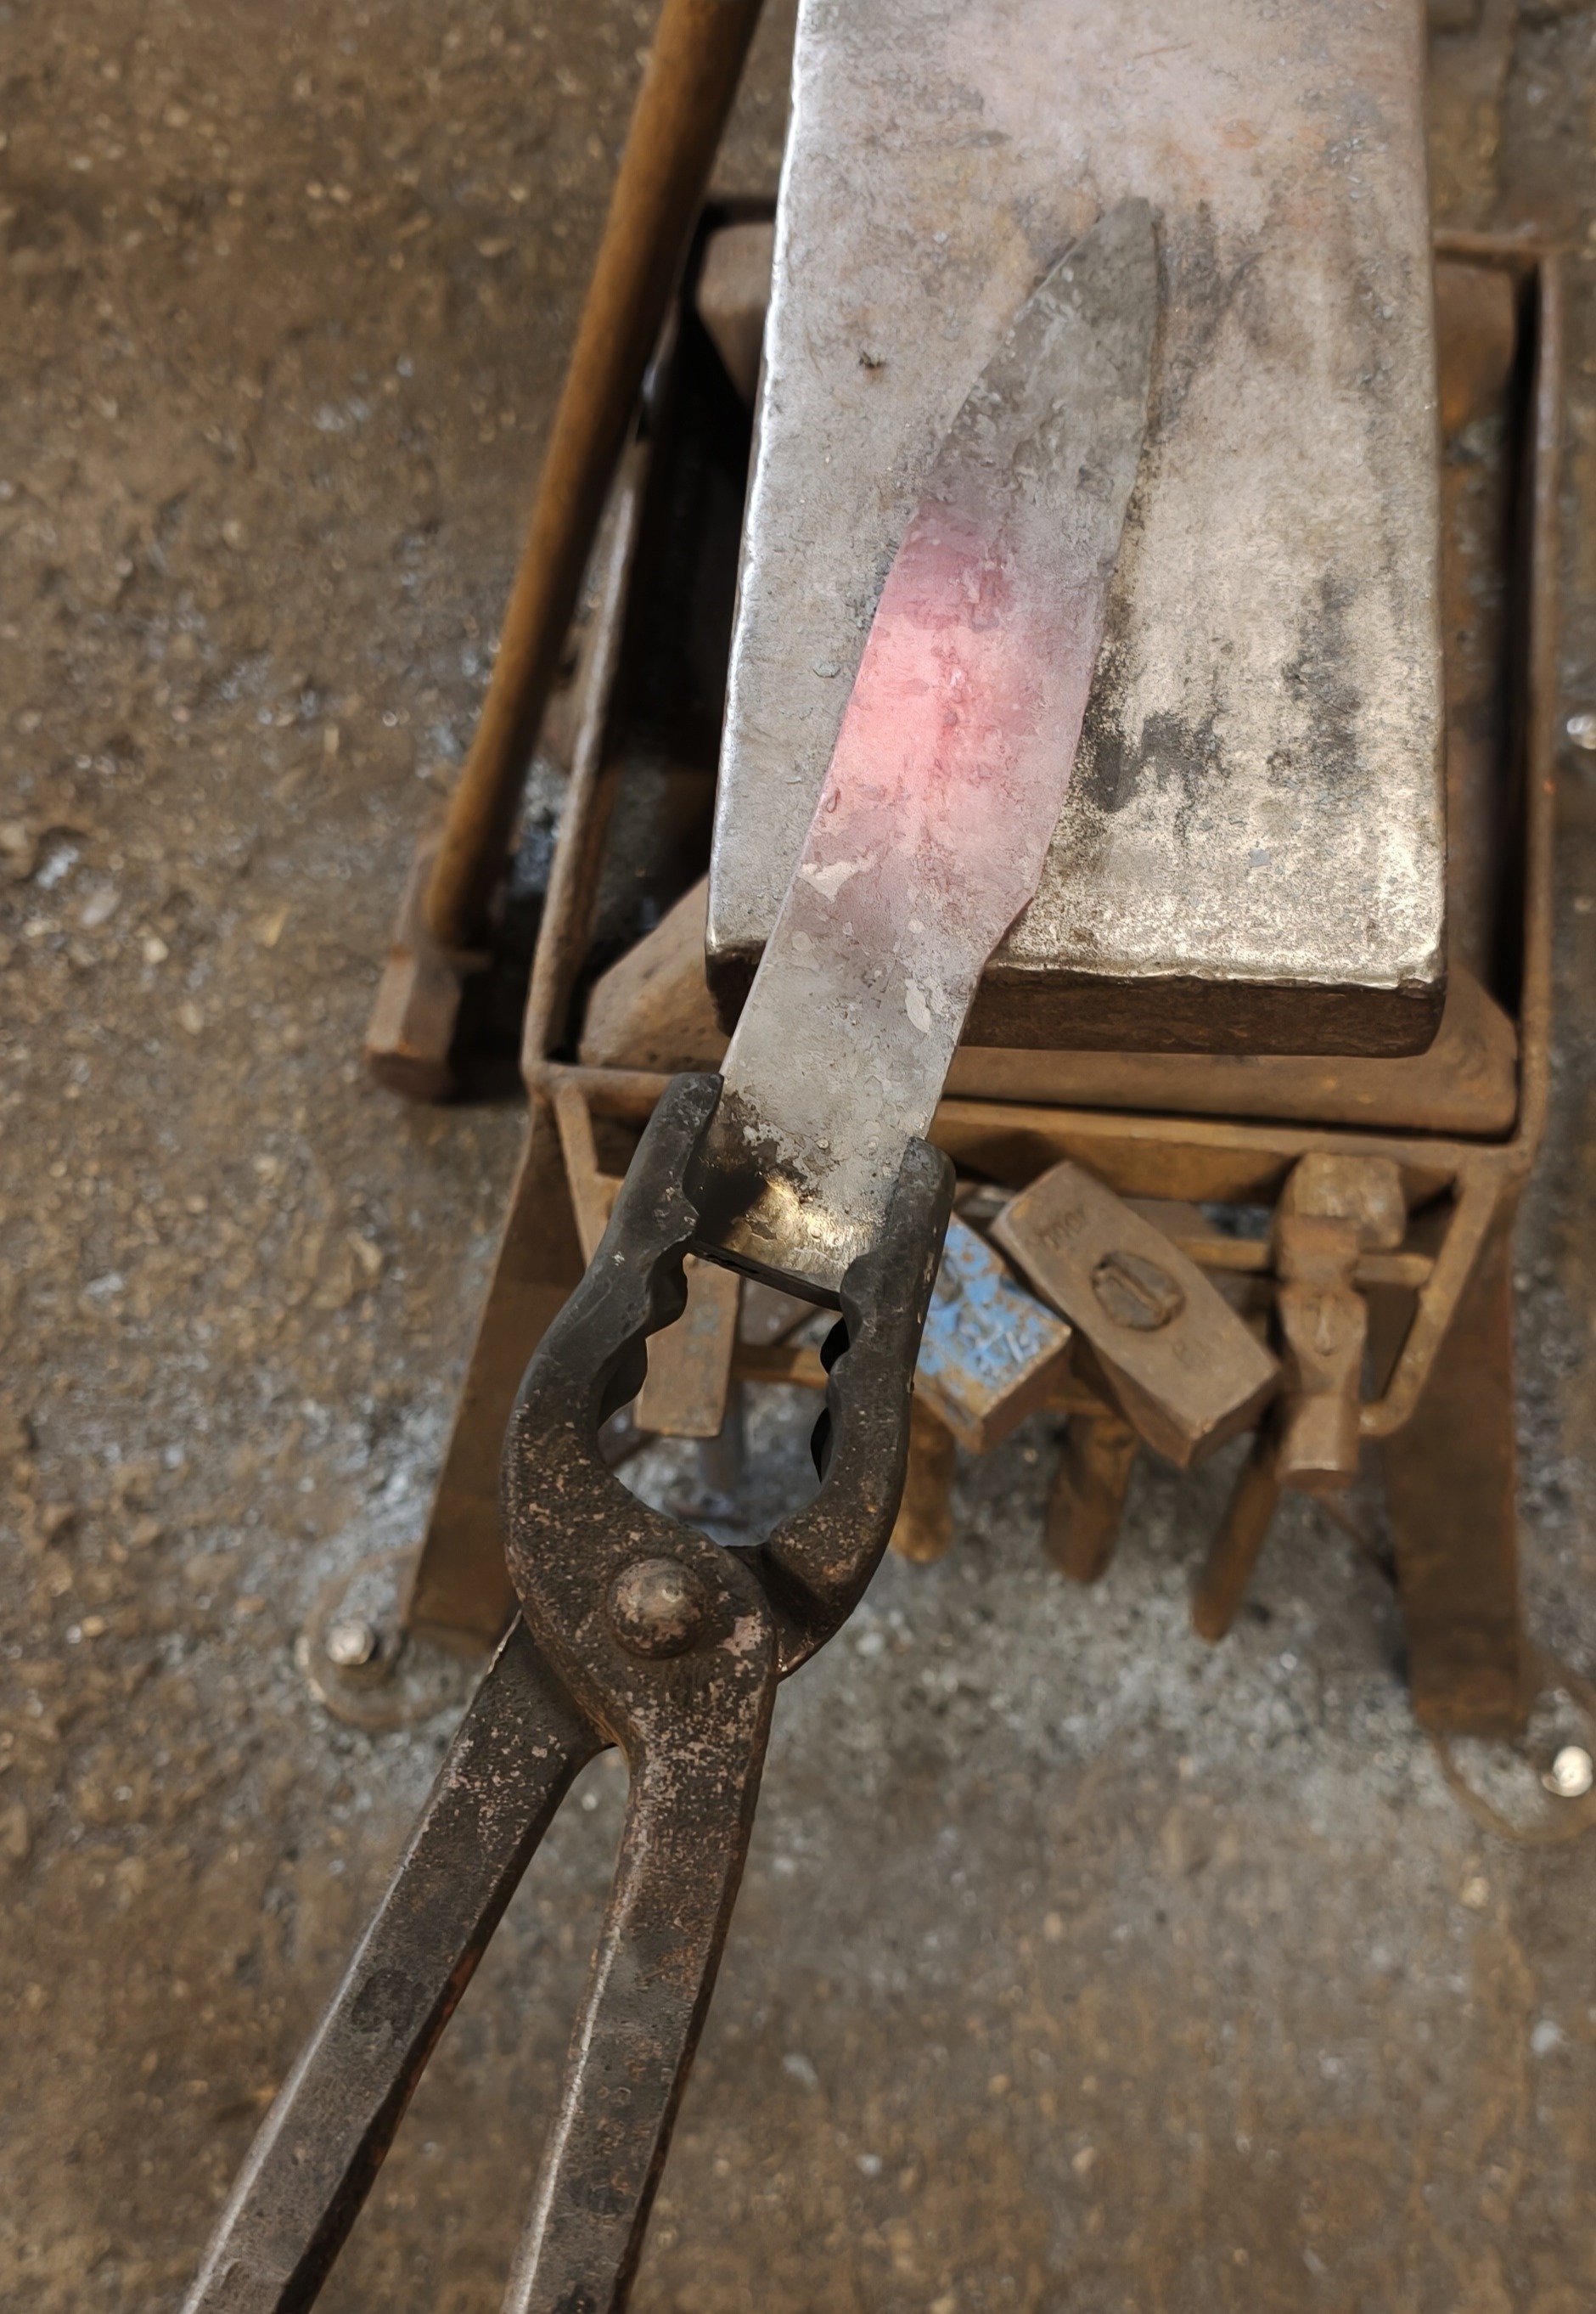
So back to the hammer I went. Firstly, I used the big 2kg one to get the thickness back to where it was and unwarp it. I then took the smaller hammer and continued working on the bevels and the transition from the blade into the rod that would become the handle.
It took me about half an hour to fix the press mistake.
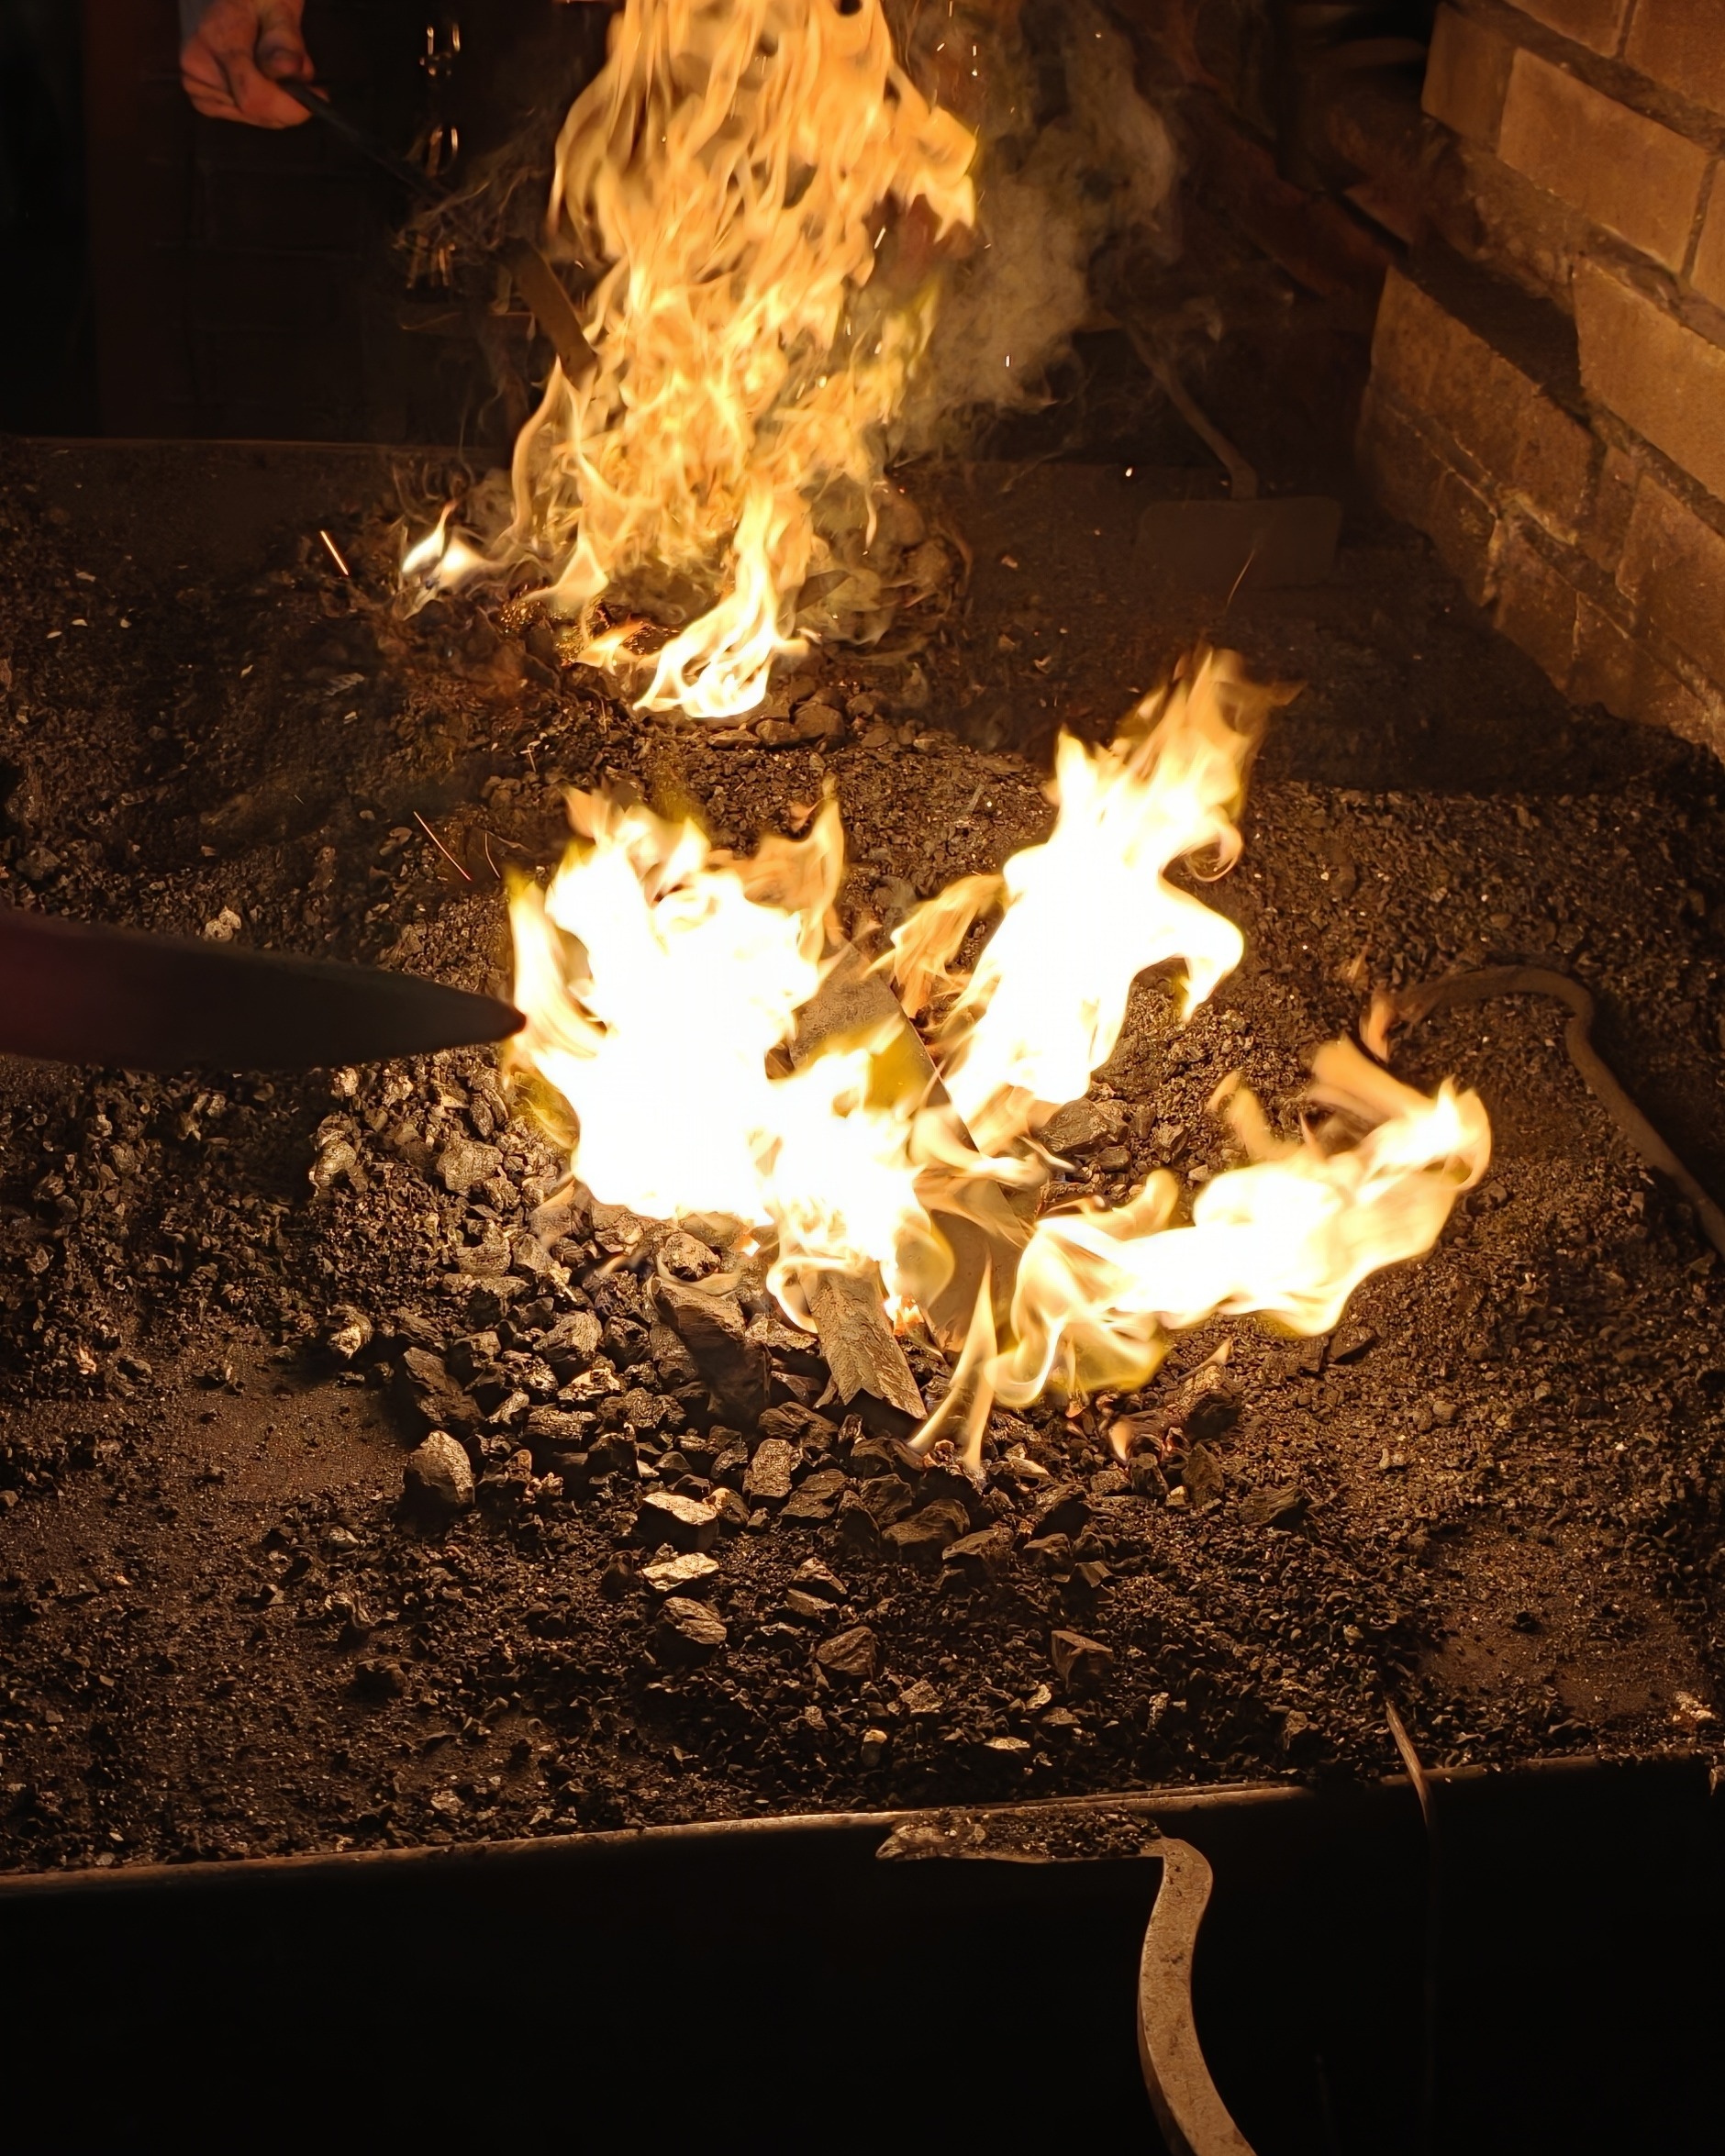
But I practiced the hammer hits, and started understanding better how the hot iron behaved. Also, how to work the coal forge. The master explained which part to keep clear of the coal, the sizes of coal nuggets to use, which ones release more sulfur, and how to control the air flow.
Outcome
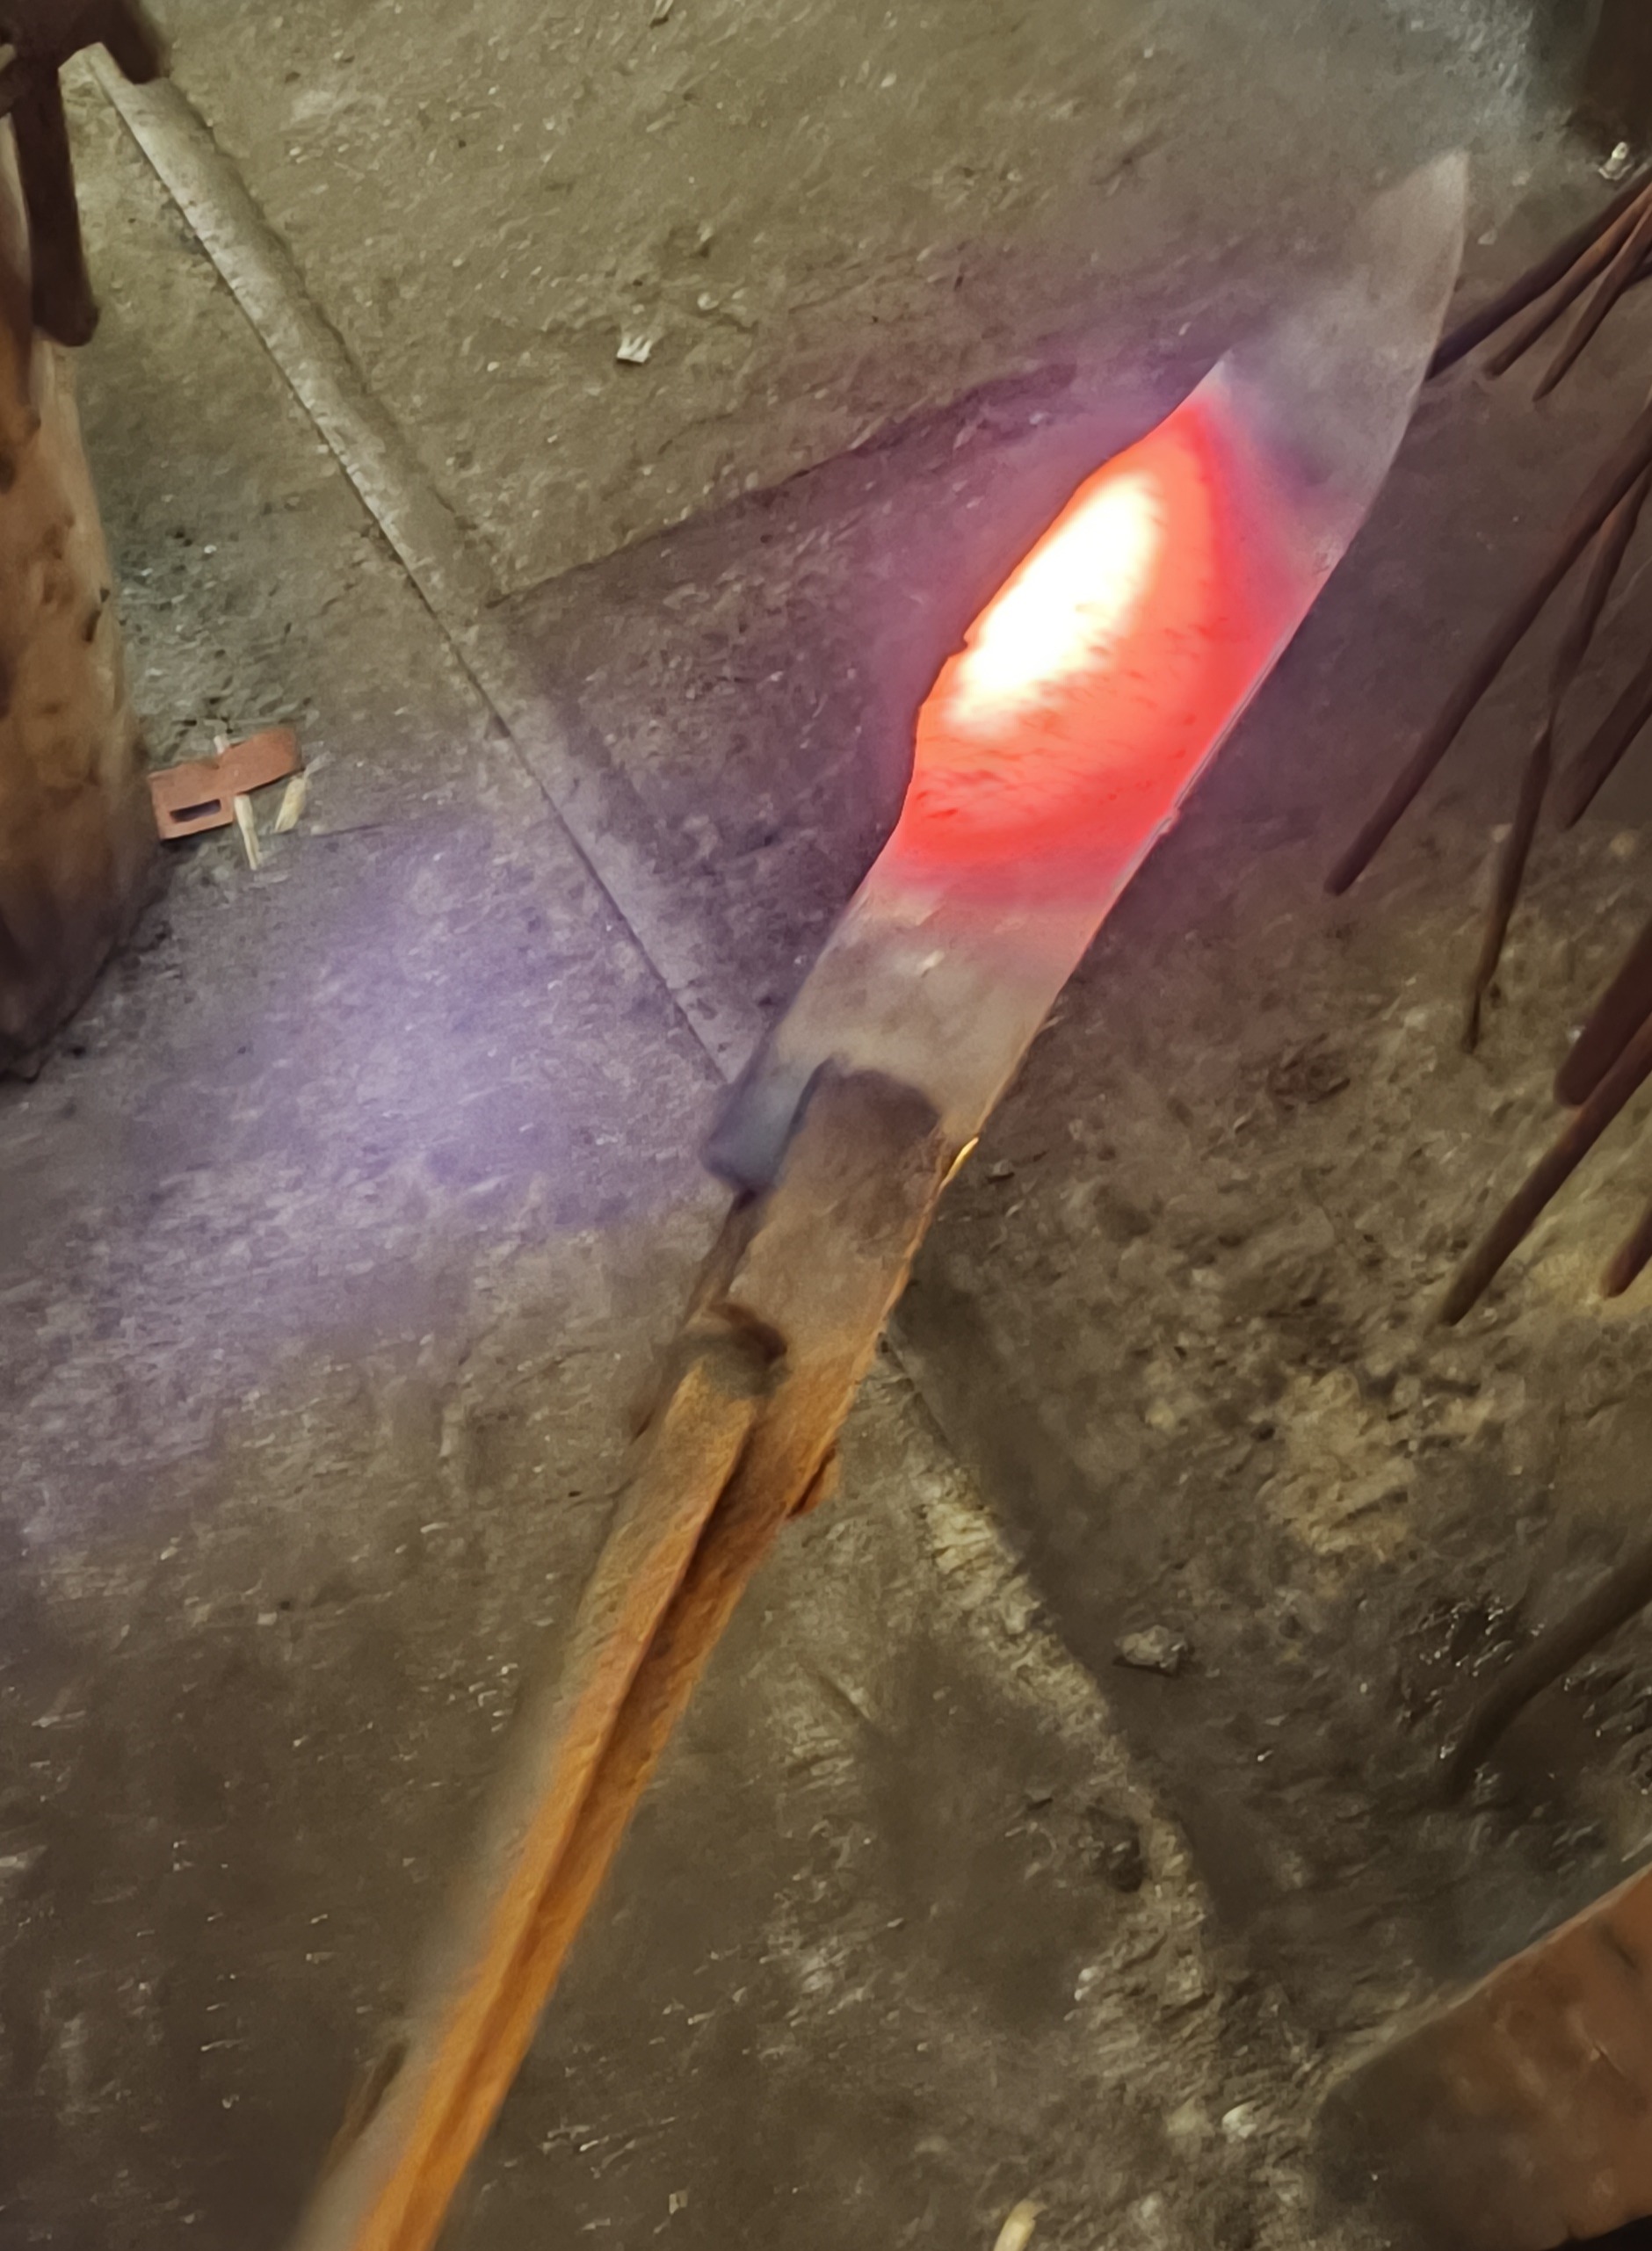
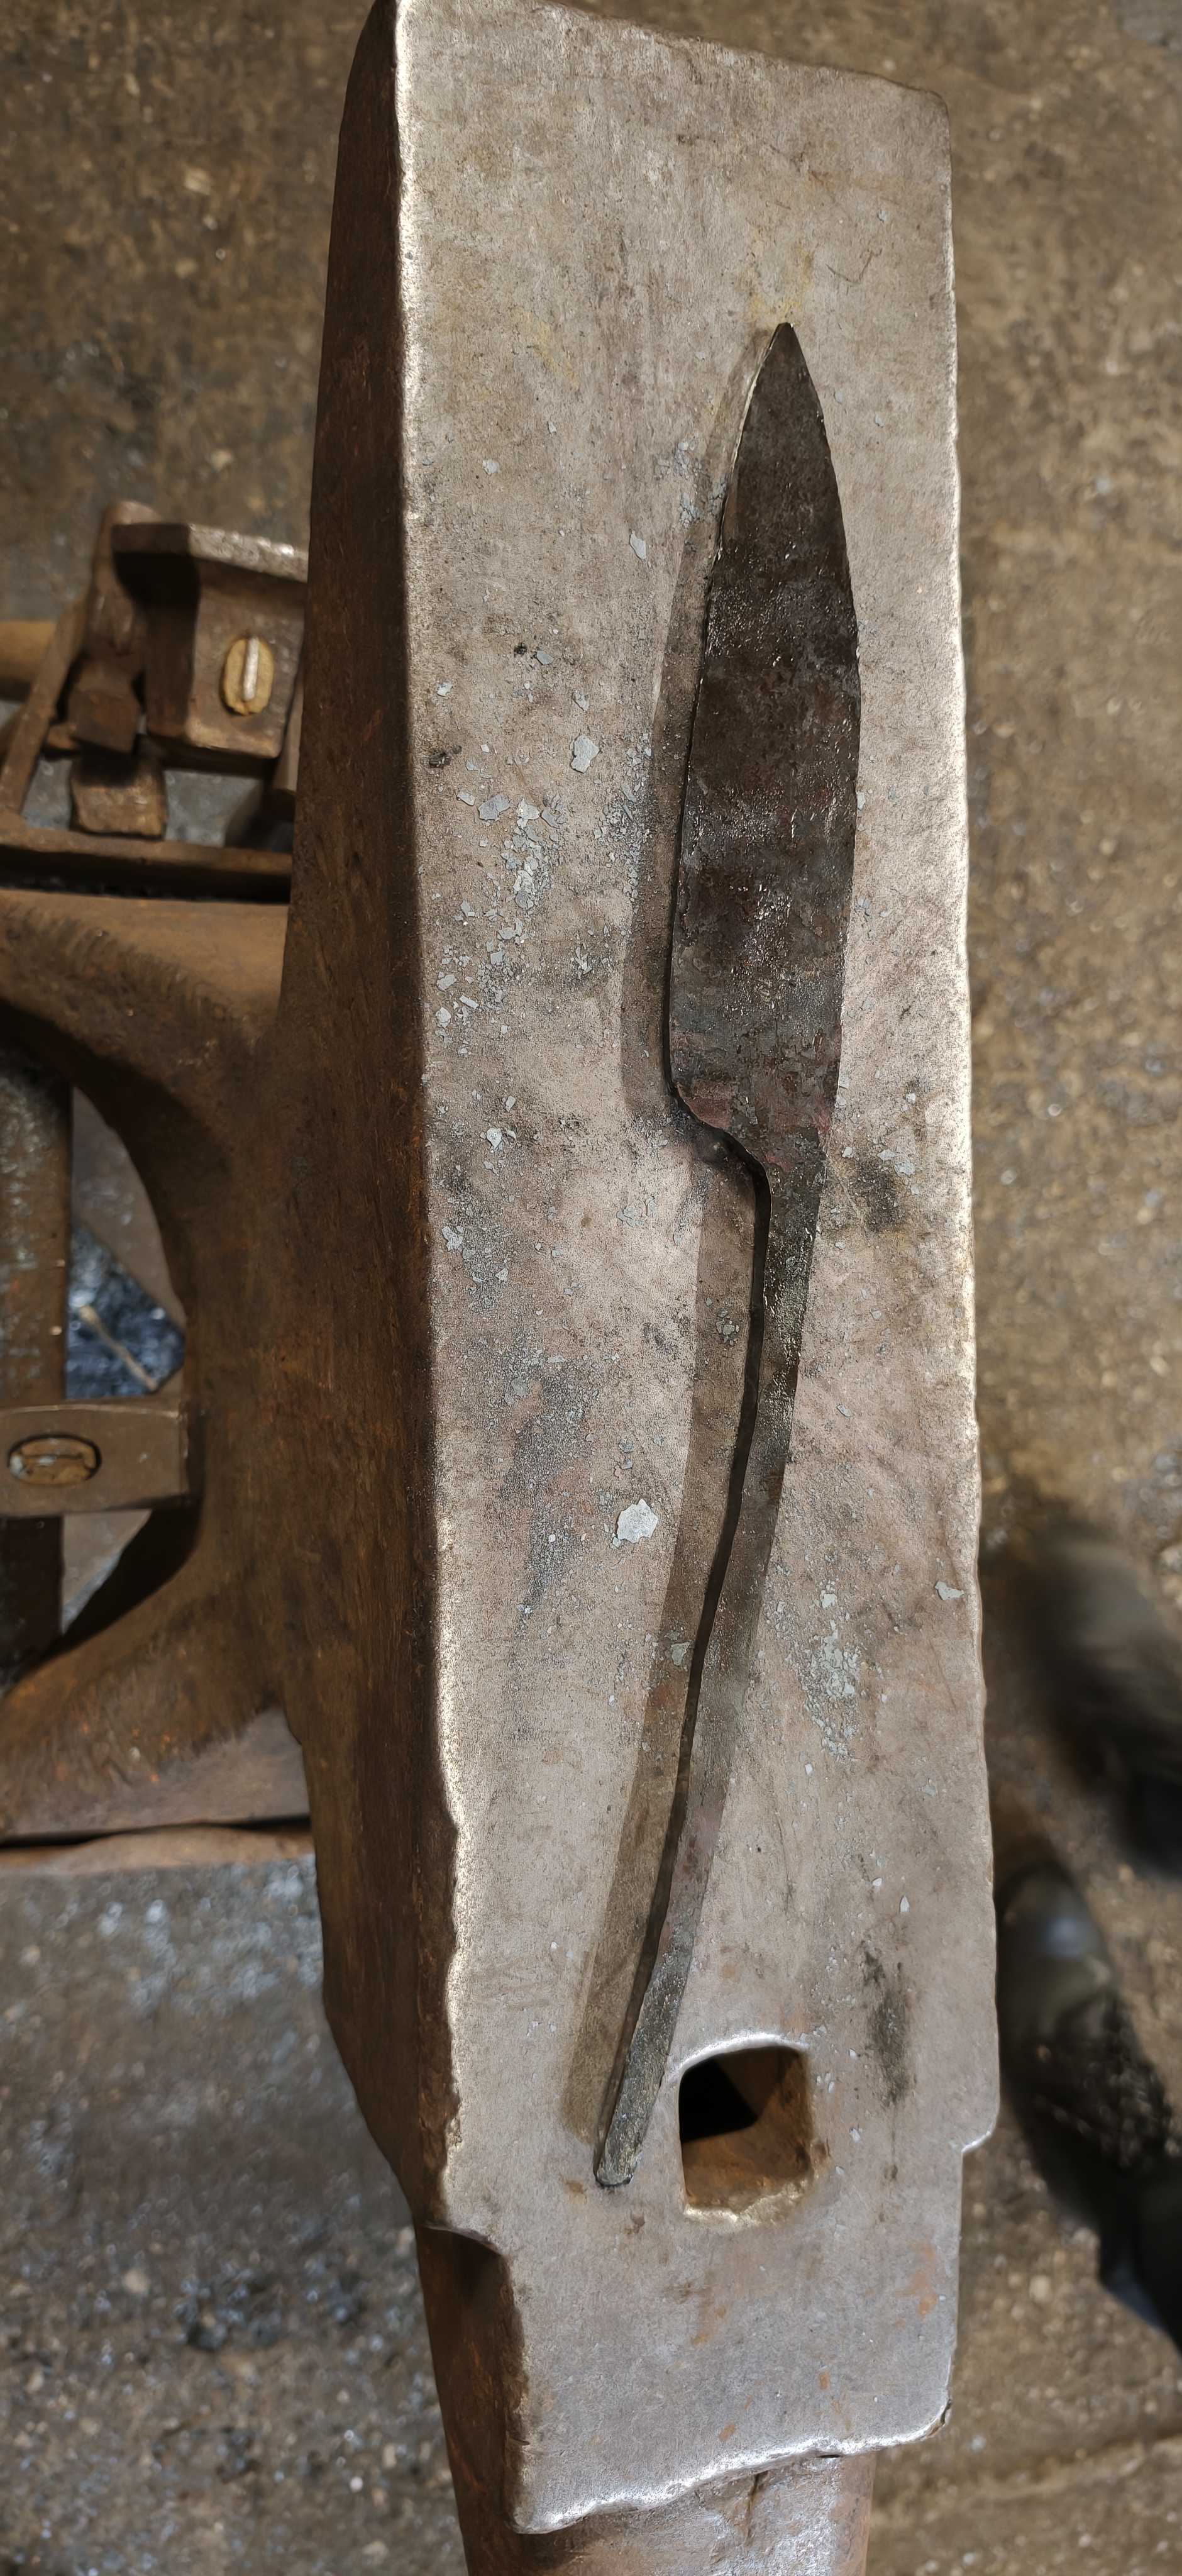
After much hammering, pressing, and fixing—I ended up with an extended rod for the handle. By this point most of the other guys more or less had the profile of the blade they wanted, including the handle. Mine took more forge work, which was to follow in the final session.
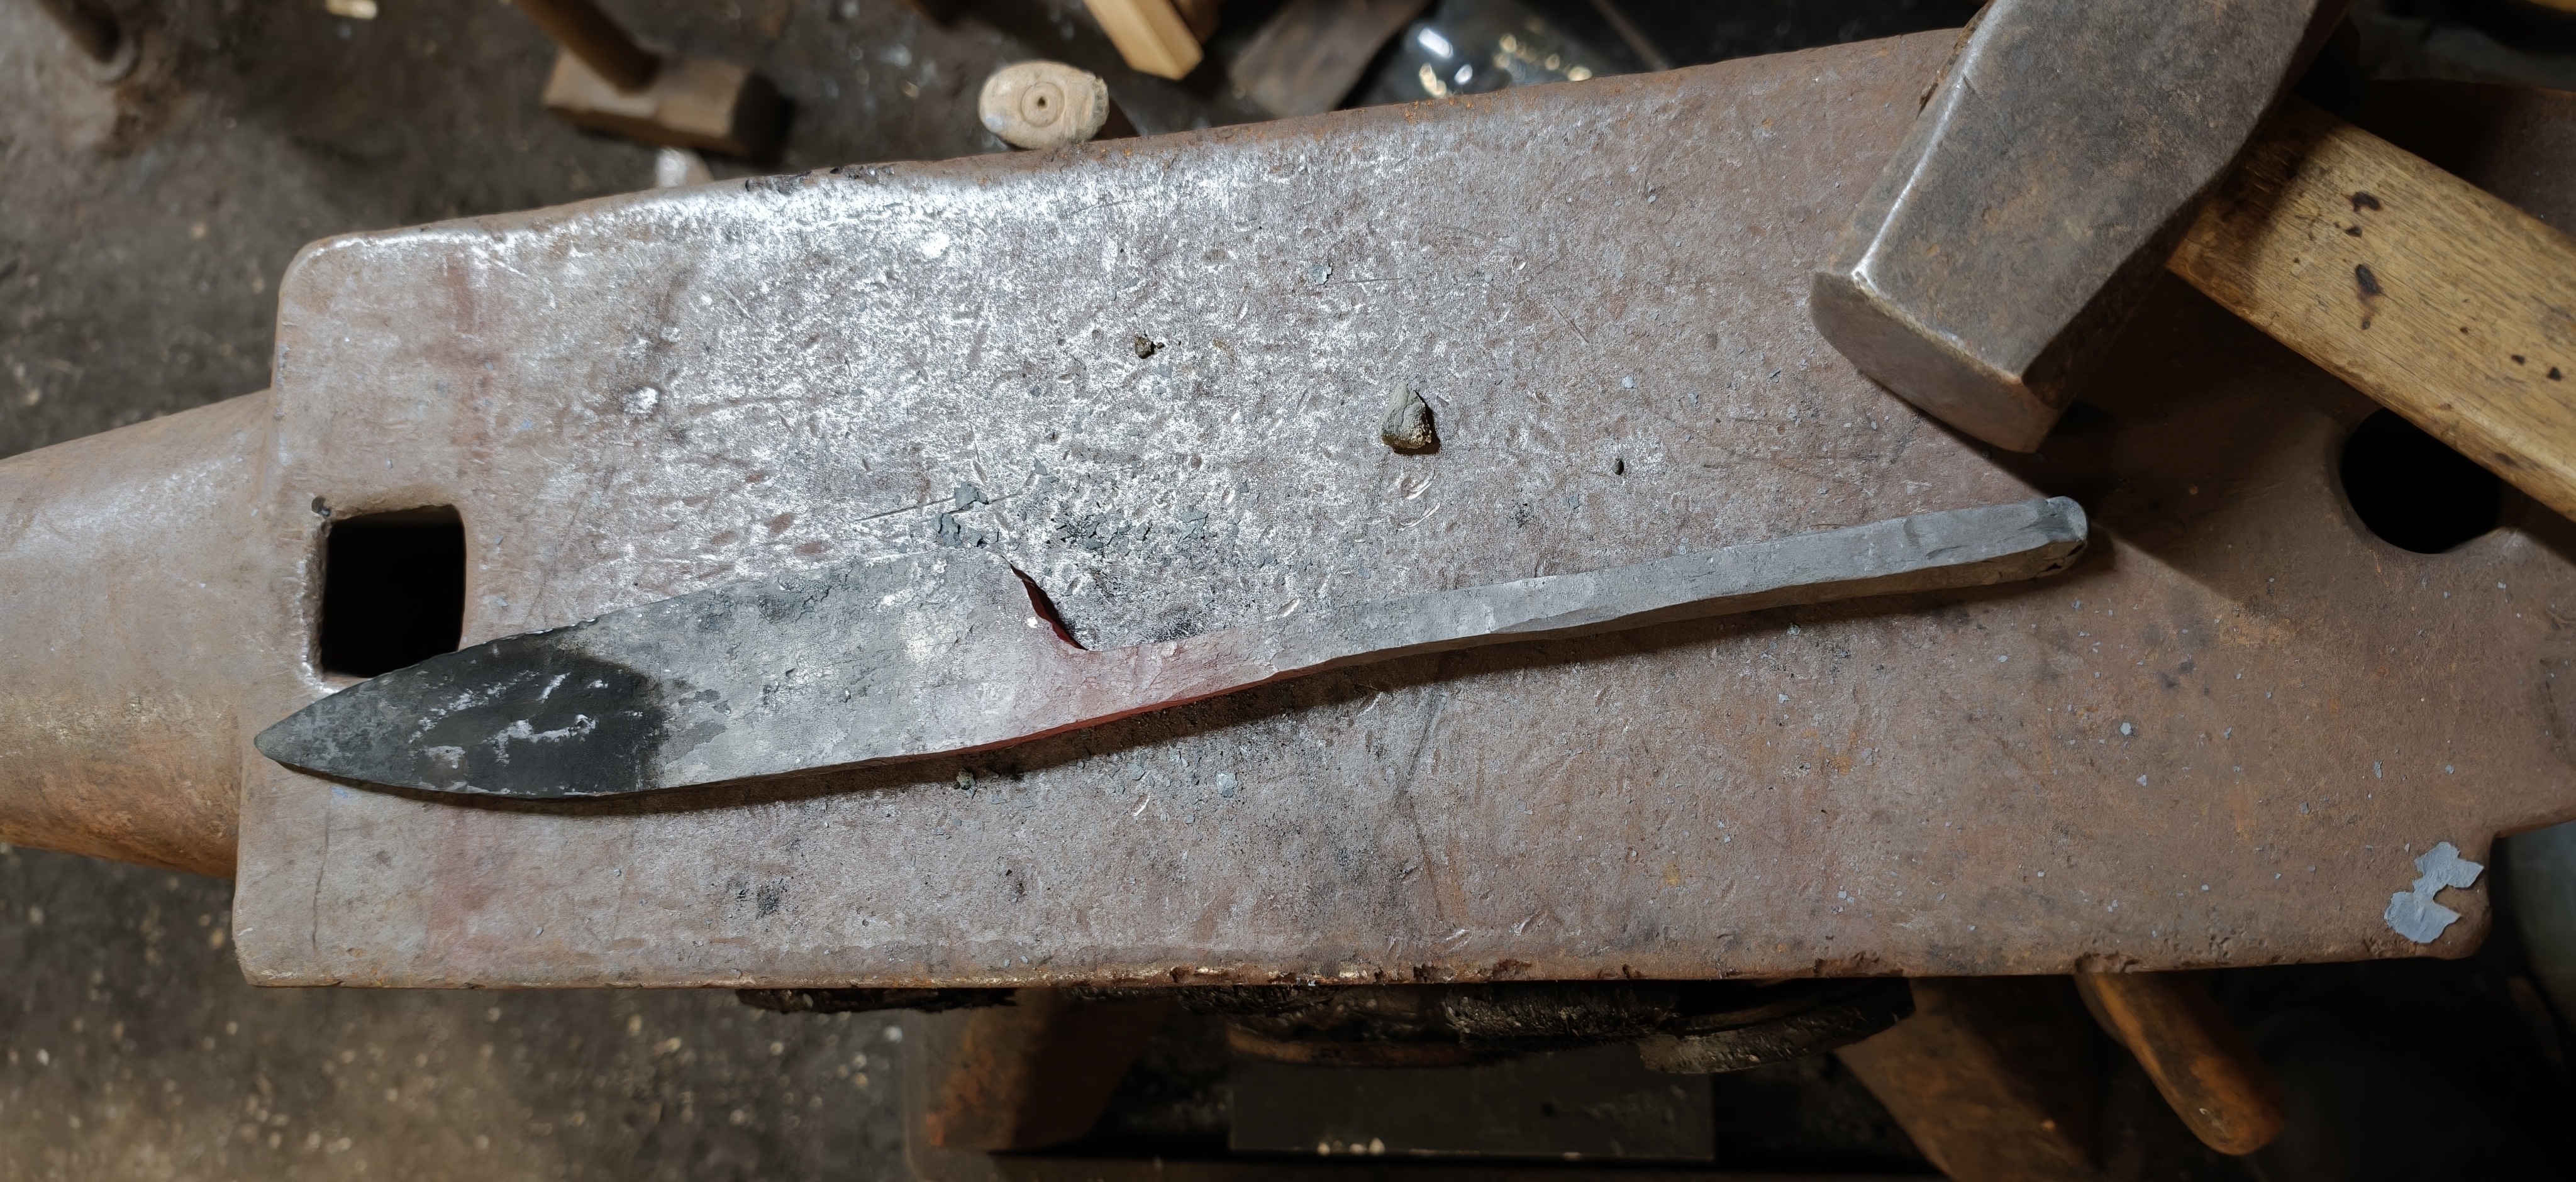
I was happy with the overall shape of the blade, but flabbergasted at the amount of time it took to get the handle into a bar of that size. And the fact that the rod did not reach even half of the length required to curve it into a handle.
Tired but happy, I took my unfinished iron knife home to show off to the family. They were asleep. :)